No-Sew Fabric Pumpkins from Fabric Scraps
Two no-sew ways to turn fabric scraps into plump pumpkins, with fabric advice, twig and felt stems, and an approximate size chart based on the circle you cut.
Tutorial at a glance
Materials
- Fabric scraps or fat quarters
- Polyester stuffing
- Twine or rubber bands
- Fabric scissors
- Short twigs or brown felt for stems
- Green felt for leaves
- Low-temp glue gun
No sew fabric pumpkins are the project to reach for when you have a bag of fabric scraps and no wish to thread a needle. A circle of cloth, a handful of stuffing and a length of twine are enough to make one, and the second pumpkin always goes faster than the first.
Two methods are covered here. The gather method makes a soft, round pumpkin from a circle. The tuck method uses a cardboard paper roll as a core and gives a firmer shape that stands well on a shelf.
Materials
- Fabric scraps or fat quarters
- Polyester stuffing, or clean fabric offcuts for filling
- Twine or strong rubber bands
- Fabric scissors and a dinner plate or bowl to trace around
- Short twigs for stems, or a strip of brown felt to roll
- Green felt for leaves
- Low-temp glue gun (an adult job)
- For the tuck method: an empty cardboard paper roll
Choosing fabric
Almost any woven or knit scrap works, but each one behaves a little differently when gathered.
- Flannel: soft, easy to gather and slow to fray. A good first choice.
- Velvet or velour: gives a rich look and deep folds. It is slippery, so tie it firmly.
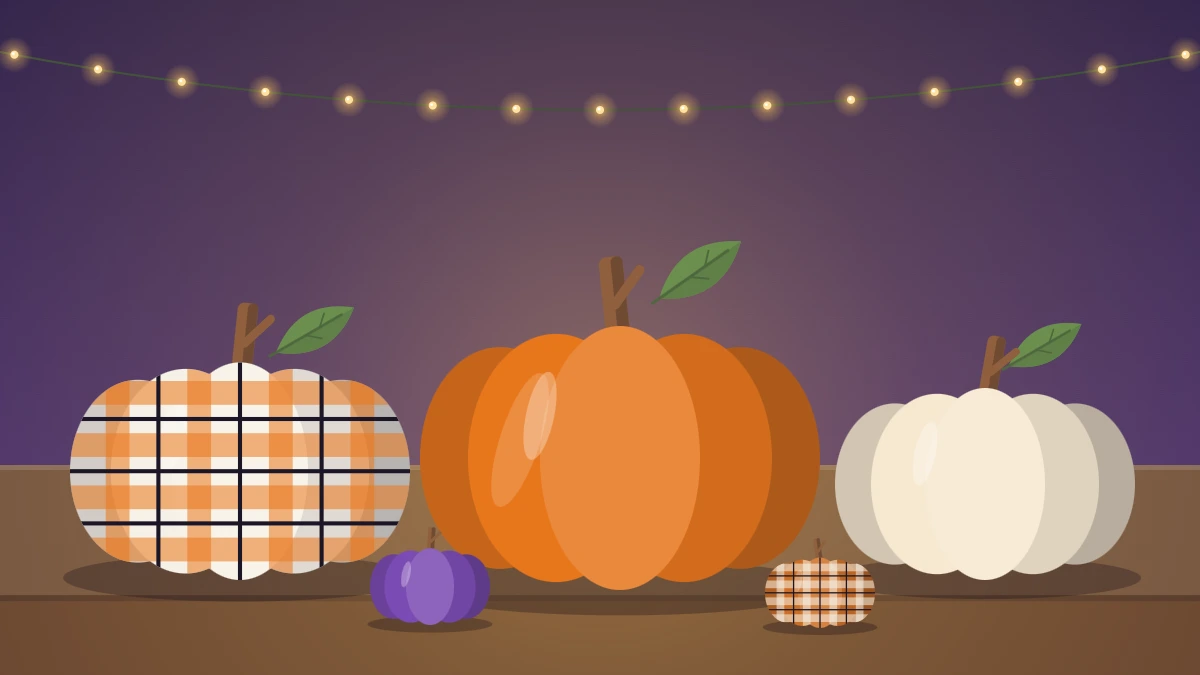
- Plaid cotton: crisp and cheerful. The pattern bends around the curve and hides uneven gathers.
- Burlap: rustic and stiff. It sheds threads, so cut it over a tray and use it for larger pumpkins.
Mixing textures in one group matters more than matching colors. Orange, cream, rust, gray and muted green all sit well together.
Gather method: pumpkin from a circle
- Trace a plate onto the back of the fabric and cut out the circle. It does not need to be perfect, because the edge ends up hidden.
- Lay the circle face down and place a mound of stuffing in the center, about the size of a large orange for a 12 inch (30 cm) circle.
- Lift the edge all the way around, bringing it together above the stuffing like a drawstring pouch.
- Hold the neck with one hand and add or remove stuffing until the body feels full but still squashes a little.
- Wrap twine or a rubber band tightly around the neck two or three times and knot it.
- Press down on the top to flatten the pumpkin into a wide, low shape.

The tuft of fabric above the tie can be trimmed to about half an inch (1.2 cm) and covered by the stem, or pushed down into the neck with the blunt end of a pencil and held with a dot of glue.
Optional ribs
For a segmented look, tie a long piece of twine around the neck, bring it down one side, under the base and up the opposite side, then loop it around the neck again. Repeat two or three times at different angles and pull gently. Each pass presses a groove into the body.
Tuck method: pumpkin with a paper-roll core
This version uses a rectangle and needs no tie at all.
- Cut a cardboard paper roll to about 2 inches (5 cm) tall.
- Cut a fabric rectangle roughly 8 by 20 inches (20 by 50 cm). Glue the two short ends together to form a tube, right side facing out.
- Stand the paper roll in the middle of the fabric tube. Tuck the lower edge of the fabric up into the bottom of the roll, working around in small folds.
- Push stuffing into the space between the roll and the fabric until the sides bulge evenly.
- Fold the upper edge of the fabric down into the top of the roll, again in small pleats.
- Press a stem into the opening so it wedges the pleats in place, and add glue if it feels loose.
The core keeps the base flat, so these stand steadily on a mantel or bookshelf.
Stems and leaves
A short, dry twig about as thick as a finger makes the most natural stem. Cut it to roughly 1.5 inches (4 cm) and glue it into the gathered neck. For a soft stem, roll a strip of brown felt into a tight coil, glue the end and trim one side at a slant.
Cut a simple pointed leaf from green felt, pinch the base and glue the pinch so the leaf cups slightly. Tuck it beside the stem. A curl of twine wound around a pencil makes a quick tendril.

Tip
If the fabric is thin and the stuffing shows through as lumps, line the circle with a second layer of plain cotton before filling.
Approximate size chart
The finished width depends on the fabric and how firmly you stuff, so treat these figures as a starting point.
| Circle diameter | Finished pumpkin width | Good for |
|---|---|---|
| About 8 inches (20 cm) | About 3 inches (8 cm) | Place settings, tiered trays |
| About 12 inches (30 cm) | About 4.5 inches (11 cm) | Shelves and mantels |
| About 16 inches (40 cm) | About 6 inches (15 cm) | Centerpieces |
| About 20 inches (50 cm) | About 8 inches (20 cm) | Floor baskets, hearths |
Fixing common problems
- The pumpkin is tall and pointed: remove some stuffing and press the top down before retying.
- The neck keeps slipping open: use a rubber band first, then cover it with twine.
- It rolls over: flatten the base with your palm, or drop a small pouch of dried beans into the bottom before stuffing.
- Edges are fraying: tuck them deeper into the neck and seal with glue.
Displaying and storing them
Group three or five in different sizes and fabrics rather than lining them up in a row. For arrangements on steps, shelves and tables, see these pumpkin display ideas. Smaller ones can be tied or glued onto a base alongside a fall leaf pumpkin wreath.
If you would like a hard, paintable pumpkin to mix in with the soft ones, paper mache pumpkins are the natural next project.
Fabric pumpkins are for indoor use and are decoration only. Twig stems and felt leaves can come loose, so keep them away from young children and pets, and store the pumpkins in a dry box where nothing presses on the stems.
Frequently asked questions
What can I use instead of polyester stuffing?
Clean fabric offcuts, old cut-up T-shirts, quilt batting scraps or plastic grocery bags all work as filling. Each gives a slightly different feel: fabric offcuts make a heavier, lumpier pumpkin, while batting stays smooth. Whatever you use, make sure it is dry before closing the pumpkin.
How big should the fabric circle be?
As a rough guide, the finished pumpkin is a little more than a third of the circle's diameter. A 12 inch circle makes a pumpkin about 4 to 5 inches wide. Stretchy or thin fabric and loose stuffing give a wider, flatter result, so cut one test circle first.
Can I make fabric pumpkins without a glue gun?
Yes. The gather method only needs twine or a rubber band to hold its shape. Wedge the twig stem tightly into the tied neck and wind extra twine around it. Fabric glue can hold the leaf, though it needs longer to set, so leave the pumpkin undisturbed while it dries.