Felt Halloween Garland with Bats, Pumpkins and Ghosts
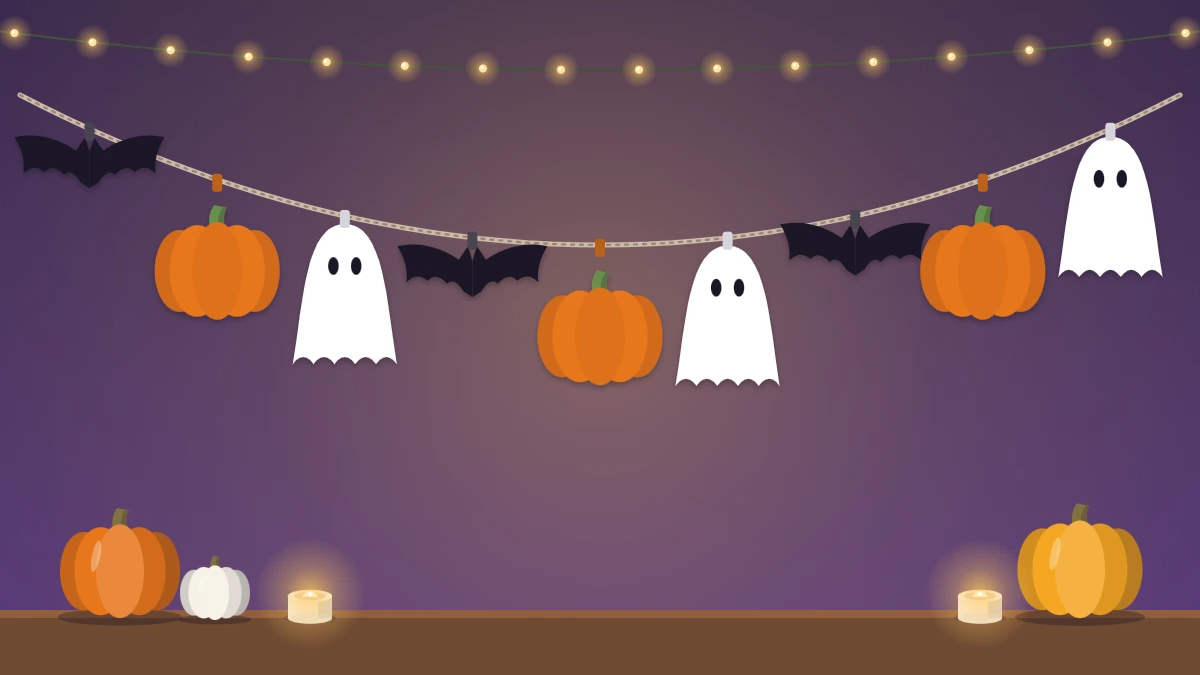
Cut felt bats, pumpkins and ghosts and string them on twine with a glued tab or a running stitch. Includes a length planner for doorways, mantels and long walls.
Tutorial at a glance
Materials
- Craft felt in black, orange and white
- Green felt scraps for stems
- Natural twine, about 7.5 feet
- Sharp scissors
- Fabric glue or low-temp glue gun
- Embroidery floss and needle (sewn option)
Felt is one of the kindest materials for a first garland. It does not fray, it cuts cleanly with ordinary scissors, and it has enough body to hang flat without lining or hemming. A felt Halloween garland of bats, pumpkins and ghosts can be finished in an evening and folded away to use again next October.
This version gives you two ways to attach the shapes, one with glue and one with a needle, so you can choose by what is already in your craft drawer.
What You Need
- Craft felt in black, orange and white, plus scraps of green
- Natural twine or thin cord
- Sharp scissors, with a small pair for details if you have one
- Thin cardboard for templates and a chalk pencil or pale pencil
- Fabric glue or a low-temp glue gun
- For the sewn option: embroidery floss and a large-eyed needle
Standard craft felt sheets are about 9 by 12 inches (23 by 30 cm), and one sheet of each main color is enough for a mantel-length garland. If you are curious about why the fabric behaves so differently from woven cloth, this short background on what felt is explains it.
Plan the Length Before You Cut
Measure the place first. A typical mantel is around 5 feet (1.5 m) wide and a standard interior doorway about 3 feet (0.9 m). Add roughly 12 inches (30 cm) to that measurement for a gentle dip in the middle, and another 8 inches (20 cm) at each end for tying or looping.
| Location | Twine to cut | Shapes needed |
|---|---|---|
| Doorway, about 3 ft (0.9 m) | About 5.5 ft (1.7 m) | About 7 to 9 |
| Mantel, about 5 ft (1.5 m) | About 7.5 ft (2.3 m) | About 11 to 13 |
| Long wall, about 8 ft (2.4 m) | About 10.5 ft (3.2 m) | About 17 to 19 |
These counts assume shapes 3 to 4 inches (8 to 10 cm) wide with a gap of about 2 inches (5 cm) between them.
Cut the Bats, Pumpkins and Ghosts
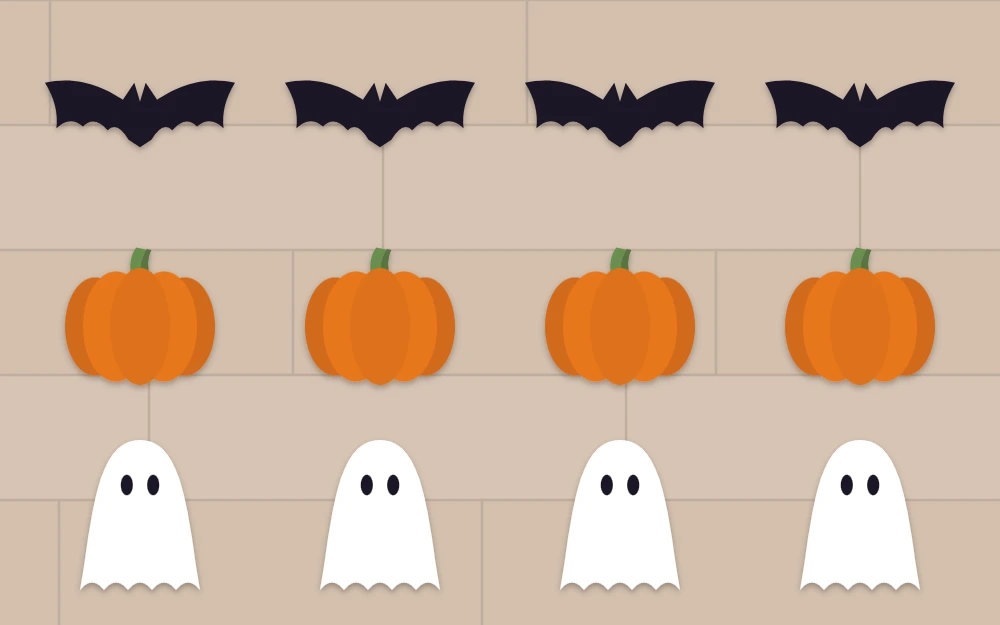
Draw one of each shape on thin cardboard and cut it out. Keep the outlines simple: a bat with two scallops along the bottom of each wing, a pumpkin that is a slightly squashed circle, a ghost like an upside-down U with a wavy hem. If you would rather start from a method for drawing and transferring outlines, see how to cut Halloween shapes.
- Trace each template onto felt with a chalk pencil. On black felt, a sliver of dry soap also leaves a clear line.
- Fit the tracings close together to save felt, turning every other one upside down.
- Cut with long, smooth strokes, turning the felt and not the scissors on curves.
- Cut just inside the line so no marks remain on the finished piece.
- Stack the finished shapes by type and count them against your plan.
Make every shape close to the same width, even though their heights differ. Equal widths are what make the spacing look even later.
Add Details with Felt Scraps
Small details are enough at garland scale, since most people will see it from across a room.
- Pumpkins: a green stem about half an inch (1.3 cm) tall glued behind the top edge, and two or three curved lines of darker orange floss or thin felt strips for ribs.
- Ghosts: two small black ovals for eyes. A hole punch makes tidy round ones from black felt.
- Bats: nothing is needed, though two tiny white dots give them a friendly look.
Use fabric glue sparingly; a thin smear holds better than a blob, which soaks through and leaves a stiff, shiny patch.
Attach the Shapes: No-Sew Tab Method
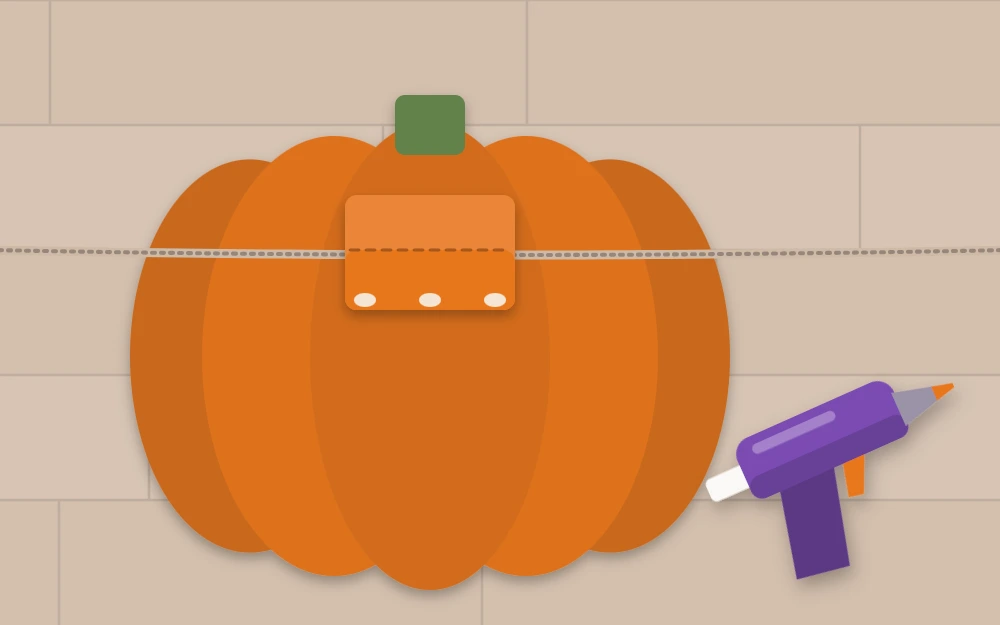
A folded tab on the back holds the twine without glue touching the front, and it lets you slide the shapes along the twine afterward.
- Cut one felt strip per shape, about half an inch wide and 1.5 inches (4 cm) long, in a color that blends with the shape.
- Lay the shapes face down in their final order and stretch the twine across them, close to the top edge.
- Put a dot of glue on the felt above the twine and another below it.
- Fold the strip over the twine and press both ends into the glue, leaving the twine itself free to slide.
- Hold for a few seconds, then leave the whole garland flat until the glue has set.
Bats need two tabs, one near each wing tip, or they will spin and hang at an angle. Pumpkins and ghosts manage with a single tab at the top center.
Safety note
A low-temp glue gun still gets hot enough to hurt, so an adult should handle it. Keep needles, hole-punched dots and loose twine away from young children and pets.
Attach the Shapes: Sewn Method
Sewing is slower but lasts through more seasons of folding and unfolding. Thread a large-eyed needle with a long piece of floss or with the thin twine itself. Take a running stitch across the top of each shape, in from the front and out again about half an inch along, three or four stitches per shape. Slide the piece into position and move to the next.
The stitches show on the front as a dashed line, which suits the handmade look.
Space, Pattern and Hang
A repeating order reads better than a random one. Bat, pumpkin, ghost, then repeat, is the easiest. Starting and ending on the same shape makes the garland symmetrical, which is why the counts in the table are odd numbers.
Find the middle of the twine and place the center shape there, then work outward on both sides, checking gaps with two fingers or a strip of card cut to width. Tie a small loop at each end and hang the garland from removable adhesive hooks at a height you can reach from the floor.
Keep felt well clear of a working fireplace and of anything warm. To store it, wind the garland loosely around a piece of cardboard so the twine does not tangle.
If you want to layer a second strand, a paper Halloween garland adds a crisper texture beside the soft felt, and a DIY Halloween banner with larger pennants fills the wall above it.
Frequently asked questions
How many felt shapes do I need for a mantel garland?
For a mantel about 5 feet wide, plan on roughly 11 to 13 shapes that are 3 to 4 inches across, set about 2 inches apart. Cut one or two spares of each type. It is easier to leave a shape off than to stop and cut another once the glue is out.
What glue holds felt together best?
Fabric glue gives a flexible bond and time to reposition, though it needs a while to set. A low-temp glue gun grips almost at once, which is handy for tabs, but an adult should use it. Ordinary white school glue tends to soak in and release when the felt is bent.
Why do the shapes on my garland keep twisting?
A wide shape held at a single point will turn on the twine. Give bats and any other broad pieces two attachment points near the outer edges, and keep the twine close to the top of each shape. A slightly tighter hang with less dip also reduces spinning.