Halloween Mantel Decor: A Layered Layout That Works
Style a Halloween mantel in five layers: an anchor, height at both ends, a garland along the edge, pumpkins in odd groups and a few small fillers, lit with flameless lights.
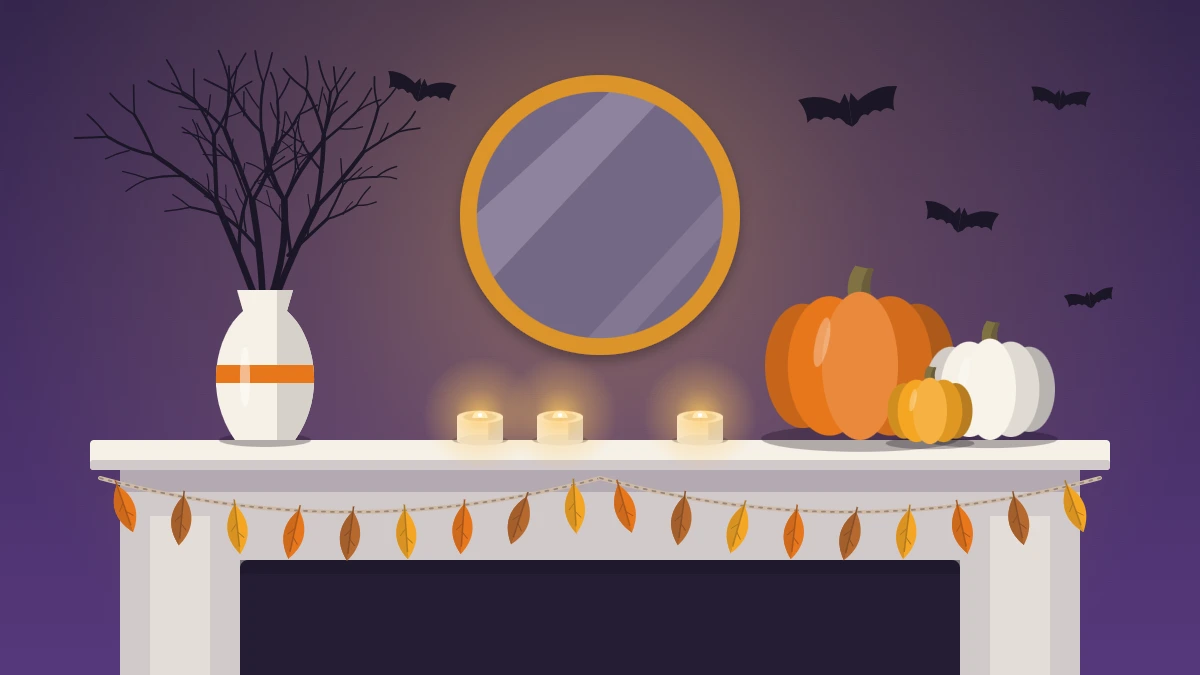
A mantel is a narrow stage at eye level, which makes it the easiest place in the house to decorate well and the easiest to overcrowd. Good Halloween mantel decor is less about how many things you own and more about the order you put them down in.
The layout below works in layers: one anchor, height at the ends, a line along the front edge, pumpkins in groups, then a few small pieces to fill the gaps. Follow the order and the shelf almost arranges itself.
Start with an Empty Shelf and a Palette
Clear everything off first, including the things that live there all year. It is easier to add back a clock that suits the scheme than to decorate around objects that fight it.
Then choose two main colors and one accent. Two colors keep a small space calm; the accent, used three or four times at most, stops it from looking flat.
| Two main colors | Accent | Mood |
|---|---|---|
| Black and cream | Pumpkin orange | Classic and graphic |
| Plum and gray | Brass or gold | Moody and elegant |
| White and natural wood | Black | Pale and ghostly |
| Orange and moss green | Cream | Warm harvest |
Hold each piece against the palette before it goes up. Anything outside it goes back in the box, however much you like it.
Layer One: The Anchor
The anchor is the largest single thing on or above the mantel, and every other piece is arranged in relation to it. A round mirror, an empty picture frame, a wreath or a large flat silhouette all work. It should be roughly half to two thirds the width of the shelf; smaller than that and it looks lost.
Centered is the safe choice and suits a formal room. Setting the anchor a little to one side, about a third of the way along, gives a more relaxed look and leaves an obvious space on the opposite end for your tallest piece.
Lean a mirror or frame against the wall instead of hanging it if you want to avoid new holes. A few paper bats fixed to the wall with removable adhesive putty, rising from one corner of the anchor, tie it to the season without adding weight to the shelf.

Layer Two: Height at Both Ends
Without height at the ends, a mantel reads as a flat row. Aim for two tall elements that are similar in visual weight but not identical.
- Bare branches in a vase. Collect fallen twigs, let them dry, and leave them natural or paint them black. Weight the vase with pebbles so it cannot tip.
- Candlestick shapes with battery tapers. Two or three holders at different heights give a strong vertical line, and battery tapers supply the flicker.
- A stack. A few old books with a pumpkin on top raises a small object to the right height.
Make one end clearly taller than the other. If the anchor is off-center, put the tallest element on the far side from it so the two balance. As a rough guide, the tall pieces should reach somewhere between half and three quarters of the anchor’s height.
Layer Three: A Garland Along the Edge
A garland draws a line across the whole arrangement and joins the separate groups into one picture. Drape it along the front edge with a shallow dip or two, and let one end trail a little lower than the other.
Soft materials sit well here because they do not rattle against the shelf. A felt Halloween garland of bats, pumpkins and ghosts brings in all three palette colors at once. Fix it with removable adhesive hooks under the lip of the shelf, or tuck the twine beneath the heavier objects at each end.
Layer Four: Pumpkins in Odd Groups
Pumpkins are the main filler, and they look best in groups of three or five. An odd number has a natural middle, so the eye settles instead of pairing things off.
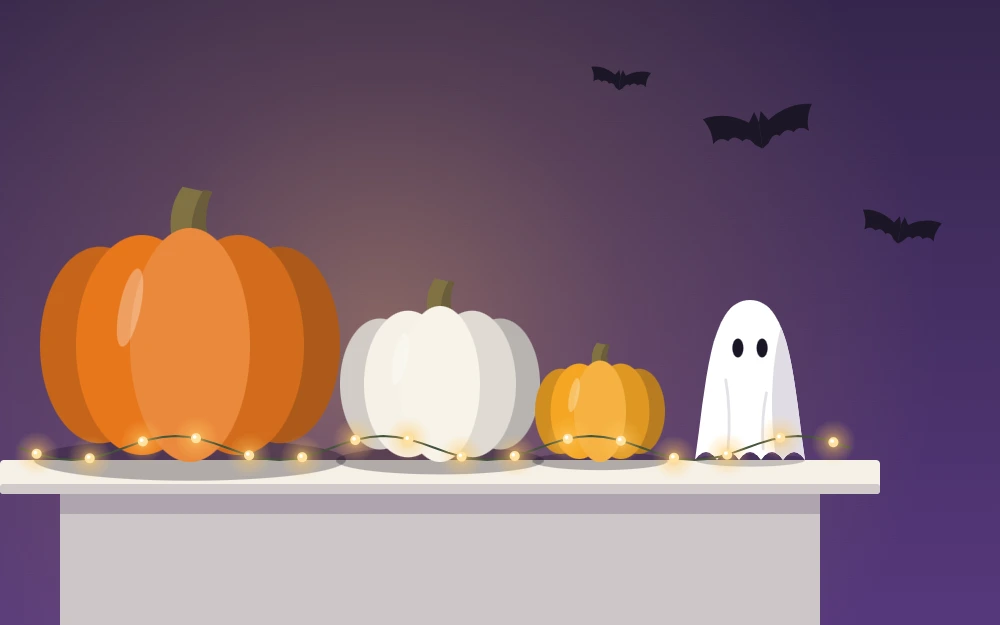
Within each group, vary the size: one large, one medium, one small. Set the largest slightly behind and let the smallest sit forward and overlap it. One group beside each tall element is usually enough for a standard shelf of about 5 feet (1.5 m).
Mix real and craft pumpkins if you like, and repeat the palette across them. The guide to pumpkin display ideas goes further into stacking, risers and color grouping.
Layer Five: Small Fillers
Now look for holes. Stand back about 6 feet (1.8 m) and squint; any bare stretch wider than your hand is a candidate for one small piece.
- A little standing ghost or a paper bat perched on a pumpkin stem
- A jar with a paper silhouette inside
- A scatter of dried leaves or small pinecones
- A wisp of stretched web material caught on the branches
Stop sooner than you think you should. A few inches of clear shelf between groups lets each one be seen, and it is the detail people most often skip.
Lighting the Mantel Without Flame
Light is what makes the arrangement work after dark. Wind a string of tiny warm lights through the garland and around the pumpkin groups, and hide its battery pack behind the largest pumpkin. Add a battery tea light inside any jar or lantern.
Use only flameless lights on a decorated mantel. Paper, felt, dried branches and web material sit close together here, and a real flame does not belong near any of them. For help choosing colors, timers and sizes, see the guide to battery LED lights for Halloween decor.
Safety note
If the fireplace below is in use, keep the mantel decoration minimal and well clear of the opening. Nothing should hang over the front edge, and garlands, branches and paper pieces should come down before a fire is lit. Check that heavy items sit fully on the shelf and cannot be pulled off by a trailing end.
Check the Balance
Take one last look from the doorway, since that is where most people will first see it. Ask three questions. Is there one clear tallest point? Does each color appear on both the left and right? Is there some empty shelf showing?
If something feels off, remove a piece before you add one. Most crowded mantels are fixed by taking away two small objects and nudging the groups a little closer to the ends.
Frequently asked questions
How do I decorate a mantel for Halloween without it looking cluttered?
Limit the palette to two colors plus one accent, group objects in threes instead of spacing them evenly, and leave visible gaps of bare shelf between groups. When it feels busy, take away small pieces first. One large anchor and two tall elements do more than a dozen little ornaments.
Can I decorate the mantel if the fireplace is used?
Keep it very simple while the fireplace is in use. Nothing should hang below the shelf or sit near the opening, and paper, fabric, branches and garlands should be removed before a fire is lit. Many households save the full display for evenings when the fireplace stays cold.
What can I use as a mantel anchor if I do not have a mirror?
An empty picture frame, a wreath, a large black cardstock moon or a tray stood on its edge all work. The piece only needs to be the biggest single shape in the arrangement, roughly half to two thirds of the shelf width, in a color from your palette.