How to Make a Halloween Wreath: Bases, Wire and Layout
The foundation for any Halloween wreath: how to choose a base, attach decorations with floral wire, zip ties or glue, lay out an off-center design and hang it on a door.

Tutorial at a glance
Materials
- Wreath base, 12 to 14 inches
- Paddle floral wire and wire cutters
- Low-temp glue gun or small zip ties
- Ribbon, fabric strips or faux leaves
- Small craft pumpkins or a large bow
- Small filler pieces
- Ribbon or over-door hanger
Learning how to make a Halloween wreath is mostly a matter of three decisions: which base to build on, how to fix things to it, and where on the ring to put them. Get those right and almost any combination of leaves, ribbon, small pumpkins and paper bats will come together.
This is the foundation guide for every wreath on DIY Halloween Decorations. It covers the four common bases, the three ways of attaching decorations, a layout that works every time, and how to add a loop and hang the finished piece on a door.
What You Need
- A wreath base, about 12 to 14 inches (30 to 36 cm) across for a standard door
- Paddle floral wire and small wire cutters
- A low-temp glue gun, or small zip ties, depending on the base
- Something to cover the base: ribbon, fabric strips, faux leaves or twigs
- One or more focal pieces, such as small craft pumpkins or a large bow
- Small fillers: berries, mini leaves, felt or paper shapes
- Ribbon or twine for a hanging loop
Most of the general items are in the starter list of Halloween craft supplies; the base and floral wire are the only wreath-specific purchases.
Choose a Wreath Base
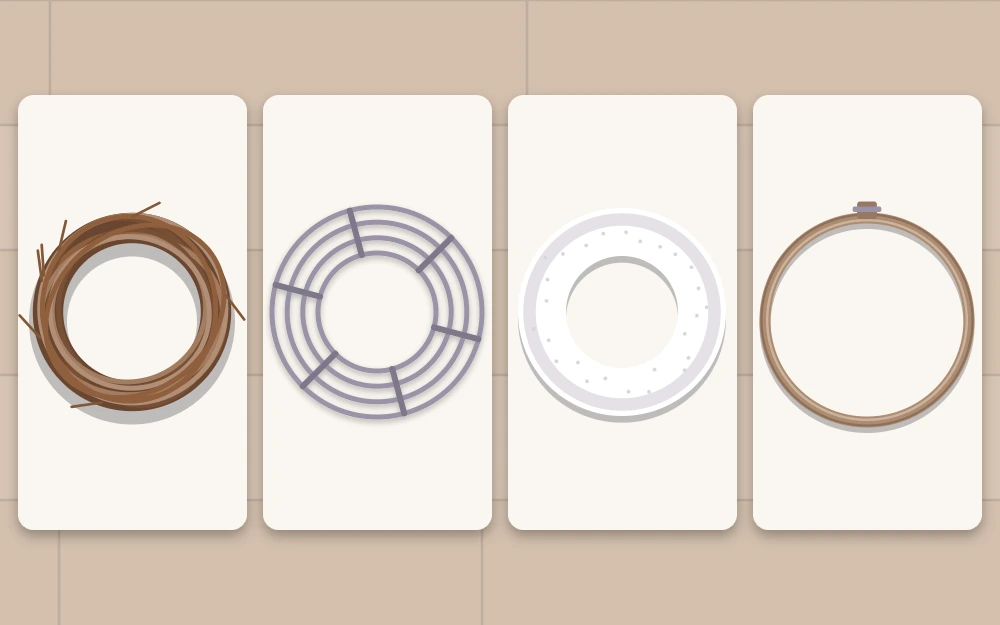
The base decides the look, the weight and the method of attaching. Four types cover nearly every design.
| Base | Best for | Attach with |
|---|---|---|
| Grapevine | Rustic, natural designs where some of the base shows | Floral wire, or stems tucked between the vines with a dab of glue |
| Wire frame | Full, fluffy wreaths of ribbon, mesh or fabric strips | Knots, zip ties or floral wire |
| Foam ring | Smooth wrapped wreaths and pinned-on decorations | Low-temp glue and pins, after wrapping |
| Embroidery hoop | Light, modern, minimal designs | Fine floral wire or low-temp glue |
For a first wreath, grapevine is the most forgiving. It already looks finished, gaps read as intentional, and stems can simply be pushed between the twigs.
Three Ways to Attach Decorations
Floral wire
Thin, flexible and easy to hide, floral wire is the most adjustable option. Wrap a length around the stem or middle of a piece, pass both ends through the base, twist them together at the back and tuck the cut ends in so nothing sharp sticks out. If you change your mind, untwist and move it.
Zip ties
Small zip ties are fast and strong, and well suited to wire frames and heavier items such as craft pumpkins. Pull them snug, trim the tail close and turn the square head to the back. Choose black or green so they disappear.
Low-temp glue
Glue suits light, flat pieces such as felt leaves, paper bats and ribbon ends, and it is the main method for foam rings. It is permanent, so place everything dry first and glue only when you are happy. A glue gun is an adult tool, and glued joins can loosen in strong sun or cold, so check them from time to time.
The Three-Step Layout
This sequence works on any base and with any theme.
- Cover the base. Wrap a foam ring in ribbon or fabric, tie strips around a wire frame until it is full, or add a light layer of leaves to grapevine. Work in one direction around the ring so everything flows the same way. Grapevine and hoops can be left partly bare.
- Add a focal cluster, off-center. Group your largest pieces together at the lower left or lower right, roughly where 7 or 8 would be on a clock face. Three items of different sizes make a stronger cluster than one large piece alone. Fix these with floral wire or ties.
- Tuck in small fillers. Place smaller pieces so they spread out from the cluster along the curve in both directions, getting sparser as they go. Leave the opposite side of the ring quiet.

The empty stretch is not unfinished. It gives the eye somewhere to rest and makes the cluster stand out.
Tip
Prop the wreath upright against a wall and step back about six feet (2 m) before fixing anything permanently. Layouts that look balanced flat on a table often shift once they are vertical.
Add a Hanging Loop
Add the loop before the final fillers, while you can still reach the back easily. Hold the wreath upright and let it settle: the heavy cluster will swing toward the bottom. Mark the point at the top that keeps the design where you want it.
Cut about 8 inches (20 cm) of floral wire, pass it around the back of the base at that point, and twist the ends into a small closed loop. On a foam ring, tie a ribbon loop around the ring instead, before or over the wrapping, since wire can cut into foam.
Hang It on a Door
Two methods need no nails and work at a comfortable height.
- Over-door hanger. A flat metal hanger hooks over the top edge of the door and holds the wreath on the front. Check that the door still closes smoothly, and add a felt pad behind the hanger if it rubs the paint.
- Ribbon. Loop a long, wide ribbon through the wreath, carry both ends over the top of the door and secure them on the inside face with a removable adhesive hook placed upside down. Check the hook’s weight rating first.
The wreath should sit at about eye level with its center roughly in the middle of the door’s upper half. A small felt pad at the back keeps the base from tapping against the door.
Safety note
A sheltered front door is the best spot. Paper, felt and ribbon wreaths suffer in rain and wind, so bring a lightweight wreath inside in bad weather. Keep berries, pins and other small parts away from young children and pets.
Next Wreaths to Try
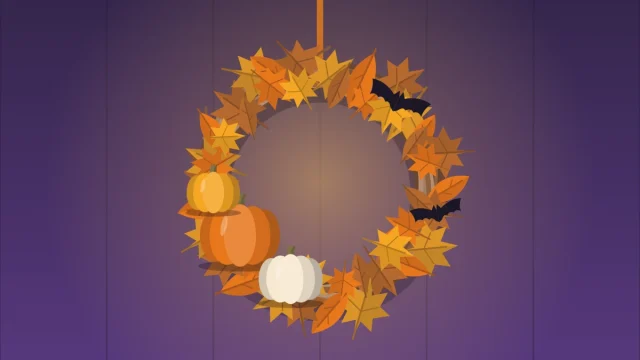
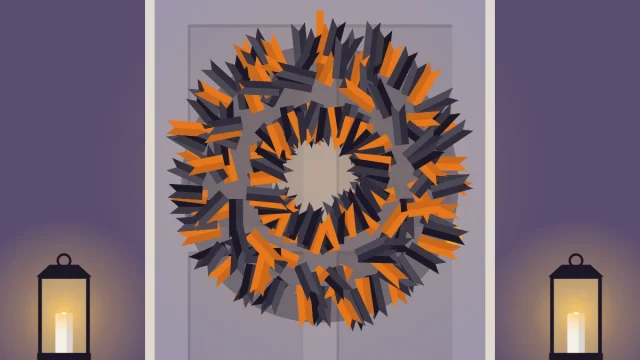
With the basics in hand, pick a design that suits your base. A wire frame or foam ring leads naturally to the black ribbon Halloween wreath, which is all about texture in a single color. Grapevine is the right start for the fall leaf and pumpkin wreath, which uses the off-center cluster described above.
At the end of the season, store the wreath flat in a box or hang it inside a clean bag in a cool, dry place. Pieces attached with floral wire can be untwisted and swapped, so the same base can carry a new design next year.
Frequently asked questions
What is the best wreath base for a beginner?
A grapevine base is usually the easiest. It looks finished even when partly bare, so you need fewer materials, and stems can be pushed between the twigs and held with a twist of floral wire. Mistakes are simple to undo because very little needs to be glued down permanently.
How do I hang a wreath without putting a nail in the door?
Use a flat over-door hanger, or loop a long ribbon through the wreath, pass it over the top of the door and hold the ends on the inside face with a removable adhesive hook placed upside down. Check the hook's weight rating and make sure the door still closes properly.
Why does my wreath hang crooked?
The heaviest part of a wreath always swings to the bottom. Hold the finished wreath upright, let it settle, and attach the hanging loop at whatever point is then at the top. If the design sits wrong, move the loop slightly or add a little weight on the opposite side.