No-Carve Pumpkin Decorating Ideas for Every Skill Level
Six ways to decorate a pumpkin without carving it: paint, paper cutouts, wraps, felt, thumbtacks and tape, with surface prep and a guide to which methods come off cleanly.
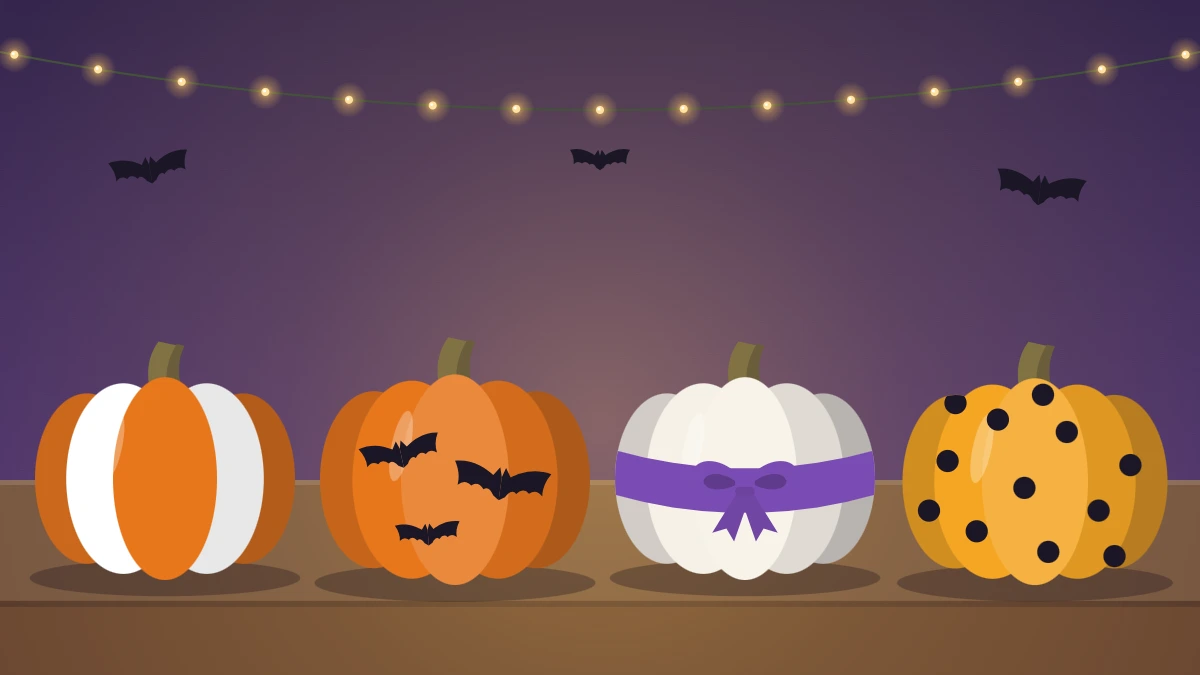
No carve pumpkin decorating keeps everything that is fun about pumpkins, the color, the shape, the instant autumn mood, and leaves out the scooping. You decorate the outside only, with materials as simple as paint, paper, ribbon and tape.
Every method below works on real pumpkins and on craft pumpkins made of foam or plastic. Some take five minutes and peel off without a trace; others take an afternoon and are meant to stay. Use this overview to find the one that suits your time and skill, then mix two or three across a group.
Real or Craft Pumpkin?
A real pumpkin has natural color, weight and a proper stem, and it is easy to find in season. How long one stays firm varies a great deal with ripeness, temperature and handling, so check it every few days and replace it if it softens.
A craft pumpkin can be decorated weeks ahead and stored for next year, which makes it the better choice for permanent methods such as paint or glued felt. Its surface is often slick, so paint and tape may grip differently than on a real rind. Test on the underside first.
Prep the Surface First
Nothing sticks well to dust, field dirt or moisture. A couple of minutes of prep makes every method below work better.
- Choose a firm pumpkin with no soft spots and a stem that is dry and attached.
- Wipe the whole surface with a damp cloth to lift dirt, paying attention to the grooves.
- Dry it thoroughly with a clean towel, then let it air dry for about 15 to 20 minutes.
- Stand it on a covered table and turn it to find its best side before you begin.

Six No-Carve Methods
Paint
Acrylic craft paint gives the widest range of looks: solid color, stripes, dots, drips, simple faces or a moon-and-bats scene. It also asks the most of you, with a covered table, two coats and drying time in between. Paint is effectively permanent on a pumpkin.
Because there is a lot to say about brushes, coats and patterns, the detail lives in its own tutorial on painted pumpkin ideas.
Paper cutouts
Cut small bats, stars, moons or a simple face from black cardstock and attach them with glue dots or small loops of tape. Small shapes, roughly 1 to 2 inches (2.5 to 5 cm) wide, follow the curve of the pumpkin better than large ones. For a three-dimensional look, crease bat wings upward and stick down only the body.
Ribbon and twine wraps
Wraps add texture with no mess at all. Spiral twine from the base to the stem, tucking the ends under the pumpkin or securing them with a dab of glue. Or tie one wide ribbon band around the middle and finish with a bow at the stem.
Felt shapes
Felt eyes, mouths, leaves and spiders give a soft, friendly finish. Hold them with glue dots for a removable result, or with craft glue on a craft pumpkin for a permanent one. On a real pumpkin you can also use short straight pins, pushed in fully so no point is exposed.
Thumbtack patterns
Flat-headed metal thumbtacks pressed into the rind make studded patterns that catch the light: rows down each groove, a spiral, a crescent moon or a scattering of dots. Sketch the pattern lightly in pencil first, then press tacks along the line about a finger-width apart. Pressing tacks in is an adult job.
Tape stripes
Decorative paper tape, the washi-style kind, is the fastest method of all. Run strips from stem to base following the grooves, alternate two colors, or cut short pieces into triangles for a simple toothy grin. Press each strip down firmly along its length, since paper tape has a light grip and may lift on a cool or damp surface.

Which Methods Come Off Cleanly?
This matters if you want to restyle a craft pumpkin next year, or if you would like to cook or compost a real one afterward. A pumpkin that has been painted or glued is decoration only.
| Method | Skill level | Comes off cleanly? |
|---|---|---|
| Tape stripes | Beginner | Yes, usually peels away |
| Ribbon or twine wrap | Beginner | Yes, if tied or tucked instead of glued |
| Paper cutouts | Beginner | Mostly; glue dots may leave a little residue |
| Felt shapes | Beginner to intermediate | Yes with pins or glue dots; no with craft glue |
| Thumbtack patterns | Intermediate | Tacks pull out but leave small holes |
| Paint | Beginner to advanced | No |
Combining Methods
The most interesting pumpkins usually use two methods, one for the background and one for detail. A few pairings that work well:
- A solid painted base with a ring of thumbtacks around the stem.
- Tape stripes with a small cluster of paper bats on one side.
- A twine wrap with a single felt leaf tucked in at the top.
Keep to two or three colors across the whole group so the pumpkins look like a set. Most of these materials are already in the basic Halloween craft supplies kit, so you may not need to buy anything beyond the pumpkins themselves.
Safety note
Pins and thumbtacks are small and sharp. Count them as you work, pick up any that fall, and keep pinned or studded pumpkins out of reach of young children and pets. Remove every pin and tack before composting.
Where to Put Them
Decorated pumpkins look best in odd-numbered groups of mixed sizes, set at slightly different heights on a porch step, a mantel or a table. Indoors, place them on a plate or tray, because real pumpkins can leave marks on wood and fabric.
Outdoors, keep paper and felt versions under cover, and set every pumpkin well to the side of steps and walkways so nobody has to step around it in the dark. For arrangement by height, color and container, see these pumpkin display ideas.
Caring for Decorated Pumpkins
Cool, dry and shaded is the general rule for a real pumpkin. Direct sun, frost and standing water all tend to speed up softening, and so does a warm spot near a heater. Check the base and the area around the stem regularly; those are usually the first places to change.
Carving is outside the scope of this guide and is an adult job. If you want a glow without it, set a battery tea light or a short string of battery LED lights among the pumpkins instead of inside one.
Frequently asked questions
What sticks best to a real pumpkin?
A clean, completely dry rind matters more than the adhesive. After wiping and drying, glue dots and small tape loops hold light paper and felt shapes, acrylic paint grips well, and pins or thumbtacks push straight in. Paper tape has a weaker hold and may lift in cool or damp conditions, so press it down firmly.
Can I still eat a pumpkin after decorating it?
Treat any pumpkin that has been painted, glued or left on display as decoration only. If you want to cook or compost a pumpkin afterward, choose methods that sit on the surface and lift away, such as tied ribbon, tucked twine or tape, and remove every pin and tack first.
How long does an uncarved decorated pumpkin last?
It varies widely with the pumpkin's ripeness, the temperature and how it has been handled, so there is no reliable figure. Keep it cool, dry and out of direct sun, and check the base and stem area every few days. Replace it once you notice soft spots.