Halloween Jar Lanterns with Battery Tea Lights
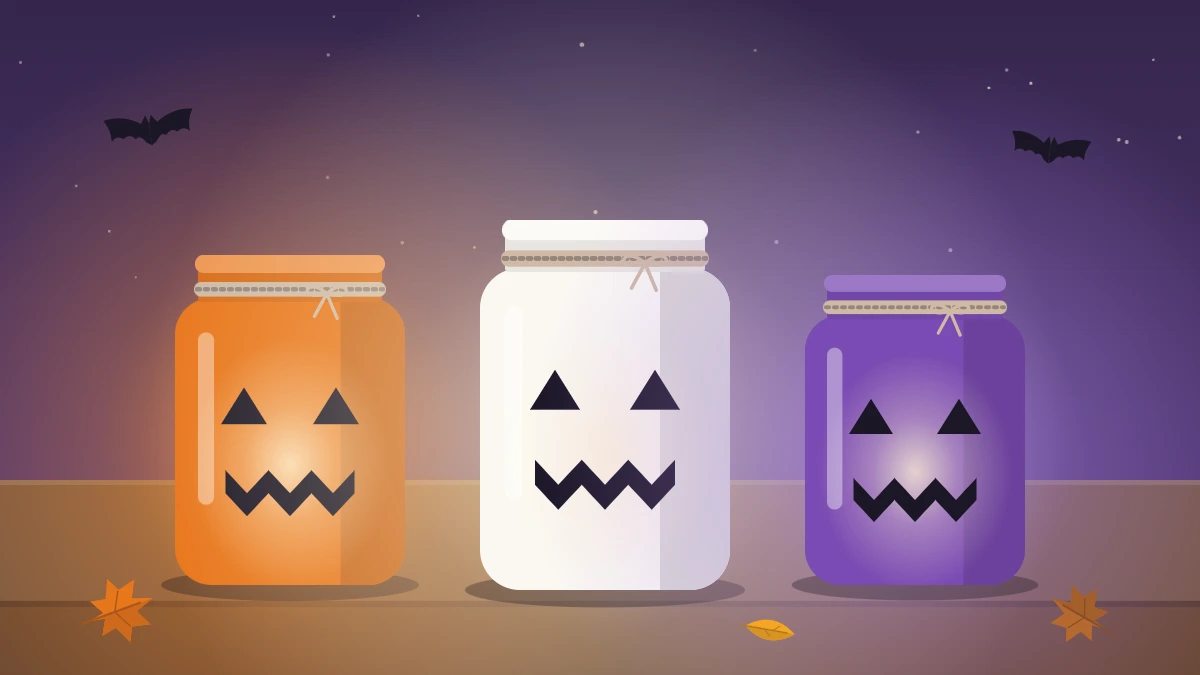
Turn clean glass jars into glowing lanterns with torn tissue paper, decoupage glue and black paper faces. Includes ghost, pumpkin and frosted variations, all lit without flame.
Tutorial at a glance
Materials
- Clean glass jars, labels removed
- Tissue paper in orange, white or purple
- Decoupage glue and a soft brush
- Black paper for faces and silhouettes
- Natural twine
- Battery tea lights, one per jar
An empty pasta sauce jar, a few sheets of tissue paper and a small light are enough to make something that glows like a tiny pumpkin on the windowsill. Halloween jar lanterns are one of the most forgiving projects on this site: torn edges are meant to show and wrinkles add texture.
The basic method takes about half an hour per jar before drying. Once you have made one, three variations at the end use the same glue and the same steps.
Materials
- Clean glass jars with the labels removed, any size from about 4 to 7 inches (10 to 18 cm) tall
- Tissue paper in orange, white or purple
- Decoupage glue and a soft flat brush or foam brush
- Black paper or thin black cardstock, a pencil and scissors
- Natural twine
- One battery tea light per jar
- Wax paper or a plastic sheet to protect the table
Smooth-sided jars are easiest. Raised lettering in the glass will show through the tissue.
Clean and Prepare the Jars
Glue grips clean glass and slides on greasy glass. Soak the jar in warm soapy water for about 20 minutes, peel the label, and rub off any sticky residue with a little cooking oil on a cloth. Wash again to remove the oil, rinse, and dry completely, inside and out.
Run a finger around the rim to check for chips and set aside any jar that has one.
Cover the Jar with Torn Tissue
Tear the tissue; do not cut it. Torn edges are soft and feathery and disappear into one another when they overlap, while cut edges leave hard lines. Pieces roughly 1 to 2 inches (2.5 to 5 cm) across are a good size.
- Brush a thin coat of decoupage glue over an area about the size of your palm.
- Lay a piece of tissue on the wet glue and pat it down gently with the brush, working from the middle outward.
- Brush a little more glue over the top of the piece to seal it.
- Add the next piece so it overlaps the first by about a quarter of its width.
- Carry on around the jar and up to the bottom of the screw threads. Leave the threads and the base bare.
- Finish with one light coat of glue over the whole jar.
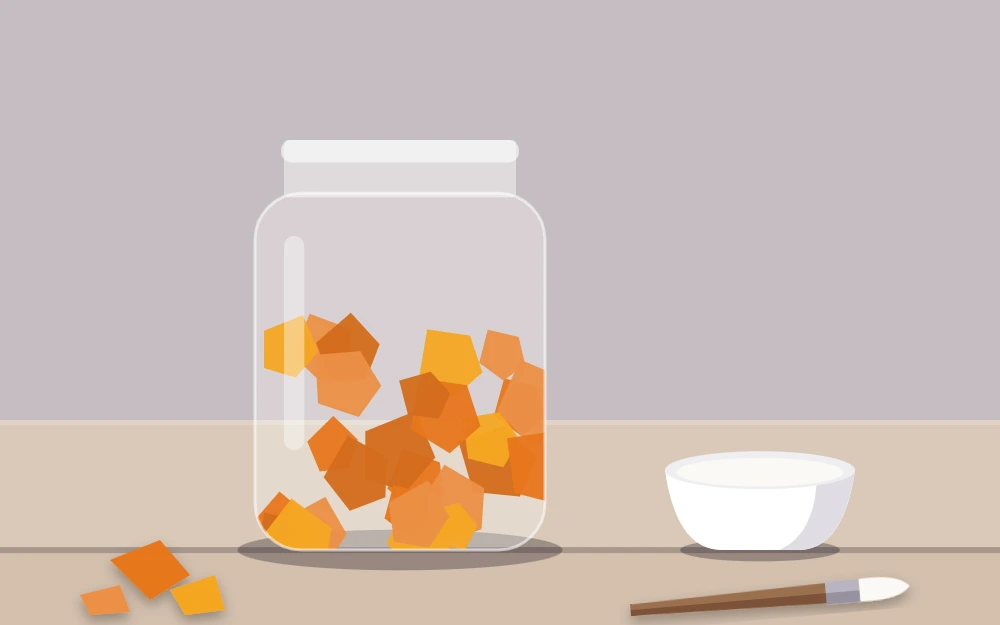
Wet tissue tears easily, so dab instead of dragging the brush. One layer gives a bright, clear glow. Two layers give a deeper color and hide the light source better.
Tip
Stand the wet jar upside down over a tall bottle or a paper towel holder. You can turn it without touching the sides, and the base will not stick to the table.
Add a Face or a Silhouette
Let the tissue layer dry to the touch first, usually about 30 to 60 minutes, though this varies with the room and how much glue you used. Black shapes pressed onto wet tissue tend to wrinkle it.
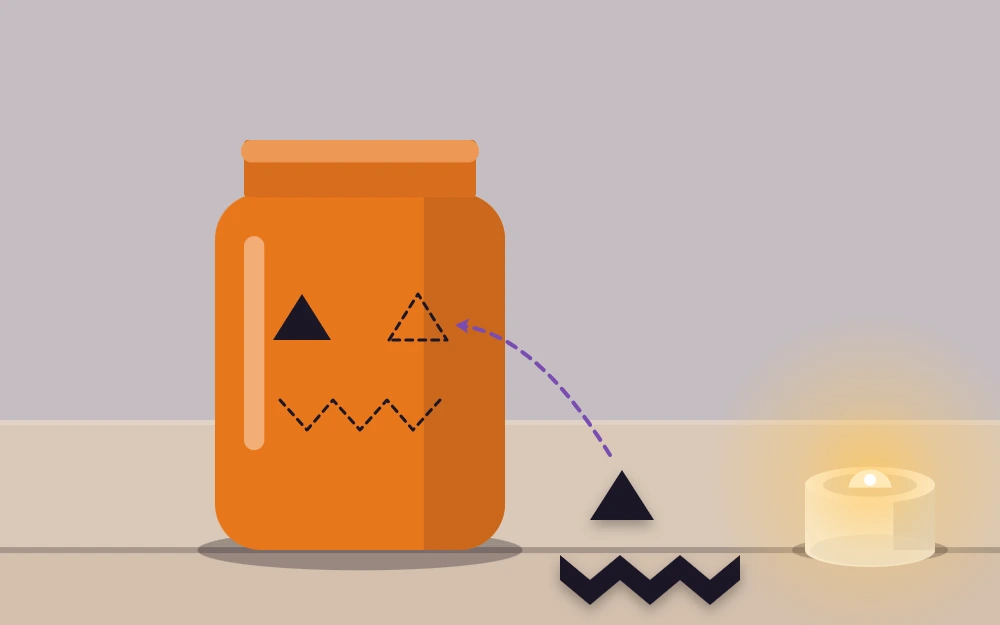
For a pumpkin face, cut two triangles for eyes, a smaller one for a nose and a zigzag strip for a mouth. Lay the pieces on the jar dry and move them about until the expression suits you. Then brush glue on the back of each piece, press it down, and seal over the top with another thin coat.
Silhouettes work the same way. Good shapes for a jar are simple and solid:
- A bat with spread wings, placed high on the jar
- A sitting cat with a curled tail
- A crescent moon with a few punched dots for stars
- A bare tree rising from the base
Keep each shape narrower than about a third of the way around the jar. Wider pieces have to bend around the curve and are more likely to crease. Using a craft knife for small inside cuts is an adult job.
Finish the Rim and Light It
Leave the jar to dry fully, ideally overnight. The surface should feel smooth and dry, not cool or tacky. Then wrap twine three or four times around the threads and tie it in a knot or a small bow. This hides the bare glass at the top.
Switch on a battery tea light and lower it into the jar. If the neck is too narrow for your hand, a long spoon or a loop of tape on the end of a pencil does the job.
Safety note
These jars are covered in paper and glue, so use flameless lights only. Do not put a real flame inside, however briefly. The comparison of battery LED lights for Halloween decor explains which small lights suit which jar size.
Three Variations
Frosted glue wash
Skip the tissue altogether. Mix decoupage glue with a few drops of white or orange acrylic paint and dab it over the glass with a sponge. It dries to a cloudy, frosted finish that spreads the light. Add black silhouettes on top once it is dry.
Ghost jar
Use two layers of white tissue and give the jar two tall black ovals for eyes and a smaller oval for a mouth. Tall, narrow jars make the best ghosts.
Pumpkin jar
Choose a short, round jar and cover it in orange tissue. Tear a few long strips of a darker orange and lay them vertically for ribs. Paint the lid green or brown, or wrap it in green tissue, and screw it on loosely as the stem after the light is inside.
Where to Use Them and How to Care for Them
A row of three jars in mixed colors suits a windowsill, a bookshelf or a hallway table. They are a natural part of Halloween entryway decor, set where arriving guests see them first, and they pair well with the clear-glass displays in apothecary jar Halloween decor.
The finished jars are for decoration only. Do not use them for food, drinks or sweets, and do not wash them; a dry cloth is all the cleaning they need. Decoupage glue softens in damp air, so keep the lanterns indoors or on a fully sheltered porch and bring them in overnight.
Place them where they cannot be knocked off an edge, away from walkways and out of reach of young children and pets, since they are still glass. Remove the batteries before storing, and wrap each jar in paper so the tissue surfaces do not stick together in the box.
Frequently asked questions
Why does the tissue paper wrinkle on my jar?
Tissue stretches when wet, so some wrinkling is normal and adds texture once lit. To reduce it, use smaller torn pieces, apply only a thin layer of glue to the glass, and pat each piece down from the middle outward instead of brushing across it.
Can I use a real candle instead of a battery light in a tissue paper jar lantern?
No. The outside of the jar is paper and glue, and glass can become very hot, so these lanterns are designed for flameless lights only. A small battery or LED light gives the same warm glow, can be left inside a closed jar and stays cool to the touch.
What jars work best for lanterns?
Any clean glass jar with smooth sides and no chips will do. Short round jars suit pumpkin designs, tall narrow ones suit ghosts, and a wide mouth makes it easier to place the light. Check that your chosen light fits through the neck before you start decorating.