Fall Leaf and Mini Pumpkin Wreath on a Grapevine Base
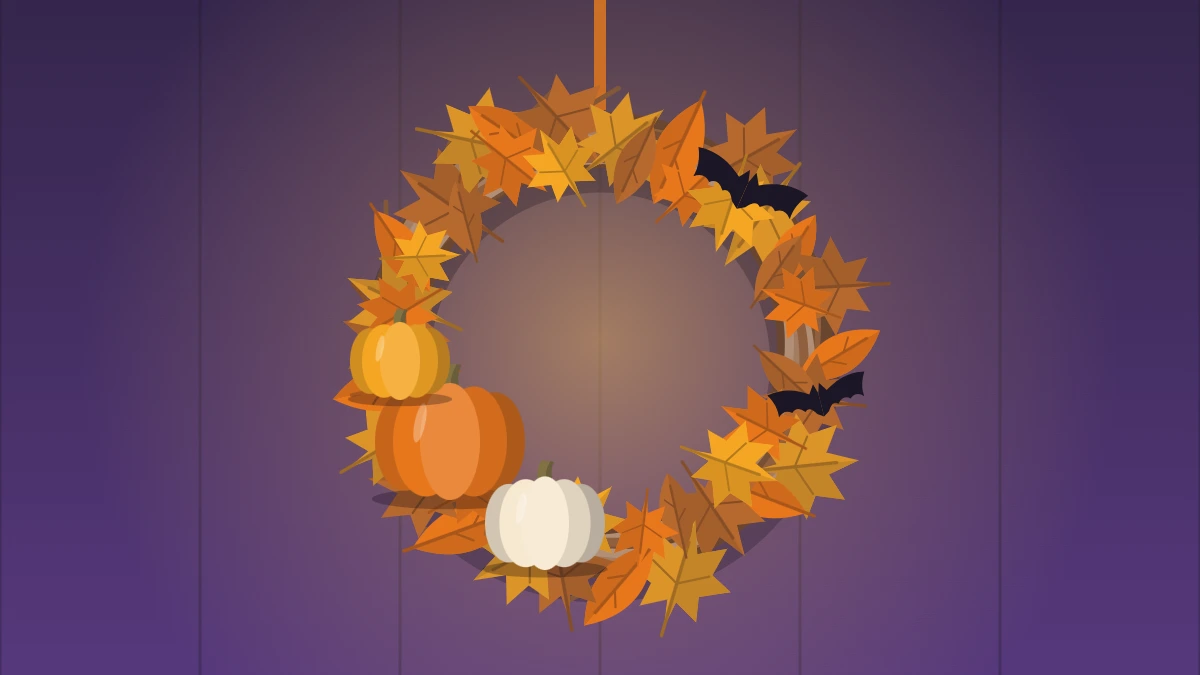
Layer leaves in one direction on a grapevine ring, wire on three lightweight craft pumpkins off-center, and add a few black accents you can remove once Halloween is over.
Tutorial at a glance
Materials
- Grapevine wreath base, about 14 inches
- Faux or felt leaves in orange, rust and gold, about 30 to 40
- Black leaves or two small felt bats
- Three lightweight craft pumpkins
- Floral wire and wire cutters
- Low-temp glue gun
- Ribbon, about 1 yard
A fall pumpkin wreath earns its place on the door for longer than most Halloween decor. Built on a grapevine base with layered leaves and a small cluster of craft pumpkins, it reads as autumn from the first cool week, turns into Halloween with a handful of black accents, and goes back to plain harvest colors the morning after.
This version is deliberately simple: one base, one direction of leaves, three pumpkins and a ribbon loop. The only step that takes a little care is wiring the pumpkins on so they stay put, and that is covered in detail below.
What You Need
A grapevine ring about 14 inches (36 cm) across suits most front doors.
- One grapevine wreath base
- About 30 to 40 faux or felt leaves in orange, rust and gold
- About 6 to 8 black leaves, or two small black bat shapes
- Three lightweight craft pumpkins, roughly 2 to 3 inches (5 to 8 cm) wide
- Green or brown floral wire and wire cutters
- A low-temp glue gun
- About 1 yard (roughly 90 cm) of ribbon for the hanging loop
Choose foam, plastic or paper pumpkins rather than real mini pumpkins. Real ones are heavy, pull the ring out of balance and soften over time. If you would rather make your own, small no-sew fabric pumpkins weigh almost nothing and add a soft texture next to the rough vine.
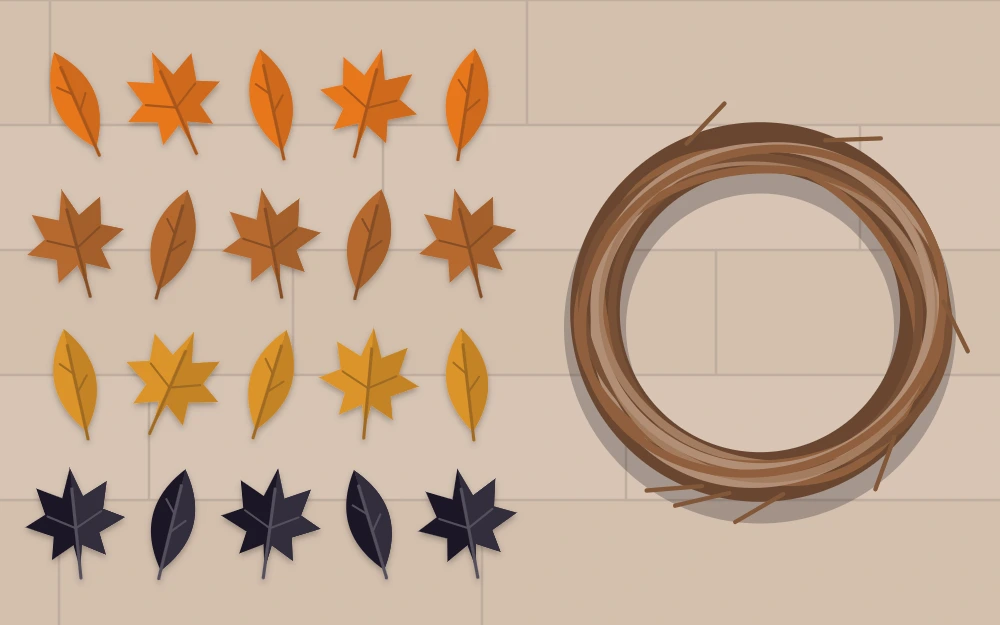
Plan the Layout Before You Glue
Lay the bare ring flat and decide where the top is. Grapevine bases are rarely perfect circles, so turn the ring until the fullest, most even side faces you and mark the top with a scrap of ribbon.
The layout has three parts:
- Leaves cover about two thirds of the ring, all pointing the same way around the circle.
- The pumpkin cluster sits off-center, at the lower left or lower right, about where 7 or 8 would be on a clock face.
- Bare vine shows on the remaining third, usually at the upper side opposite the pumpkins.
If wreath bases, wire types and balance are new to you, the guide to how to make a Halloween wreath explains the groundwork that this project builds on.
Layer the Leaves in One Direction
- Start at the end of the leaf section farthest from the pumpkins. Tuck the stem of the first leaf between two vines so the tip points away from where the pumpkins will sit.
- Add a small dot of glue where the stem meets the vine and hold it for a few seconds. Glue guns are an adult tool, and even low-temp glue is hot enough to sting.
- Place the next leaf so it overlaps about half of the first, pointing the same way.
- Work in rows of three across the width of the ring: one leaf toward the inside edge, one on the face, one toward the outside edge.
- Rotate through your colors as you go, so no two neighbors are the same shade.
- Stop when you reach the spot planned for the pumpkins, leaving a gap about 6 inches (15 cm) long.
Step back every few rows. A leaf pointing the wrong way is easy to spot from a few feet away and easy to peel off while the glue is still fresh.
How to Wire Pumpkins Through the Base
Glue alone rarely holds a pumpkin on a grapevine ring, because the vines offer very little flat surface. Wire does the holding; glue only stops the pumpkin from spinning.
- Cut a piece of floral wire about 10 inches (25 cm) long for each pumpkin.
- An adult should push a thin skewer or an awl through the lower third of the pumpkin, from one side to the other, to make a channel.
- Thread the wire through the channel until equal lengths stick out on both sides, then bend both ends down toward the base of the pumpkin.
- Set the largest pumpkin in the middle of the gap. Push the two wire ends through the grapevine, one on each side of a thick vine.
- Turn the wreath over, twist the ends together three or four times until the pumpkin sits snug, trim the extra, and fold the cut ends back into the vines so nothing sharp points outward.
- Repeat with the other two pumpkins, one slightly above and one slightly below the first, so the three touch and form a loose triangle.
Add a dot of glue where each pumpkin rests on the vine, then lift the wreath and give it a gentle shake. If a pumpkin wobbles, tighten its twist at the back.

Finish by tucking four or five leaves around the pumpkins to hide the wire.
Shift It from Fall to Halloween
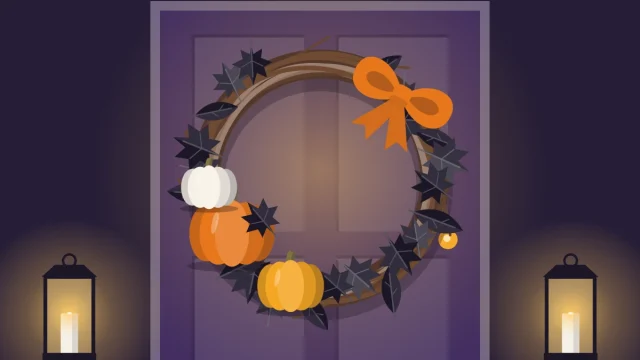
Black is the only color you need to add. Slide the black leaves into the leaf section in two or three small groups rather than scattering them one by one, and place one group right beside the pumpkins.
Bats work the same way. Cut two small bat shapes from black felt or cardstock, each about 3 inches (8 cm) from wingtip to wingtip, and tuck them among the leaves at different angles.
Attach these accents with wire or a short pin pushed into the vine instead of glue. That choice is what lets you change the wreath later without tearing anything.
Add the Ribbon Loop and Hang It
Thread the ribbon through the back of the ring at the marked top, around two or three vines, and knot the ends to make a loop about 4 inches (10 cm) long.
Hang the wreath on an over-the-door hanger or a removable adhesive hook rated for its weight, at a height you can reach from the ground. Grapevine, felt and paper do not cope well with soaking rain or strong wind, so pick a sheltered door and bring the wreath inside when the forecast turns. For more on choosing sheltered spots, see the beginner guide to outdoor Halloween decorations.
Swapping the Accents After Halloween
Once Halloween has passed, pull out the black leaves and bats and store them flat in an envelope. Fill the gaps with a few spare gold leaves, a small bundle of dried wheat or a couple of pinecones wired in the same way as the pumpkins.
When the season ends, store the wreath flat in a shallow box somewhere dry. How well it holds up varies with the materials and the storage, so check the wire twists and re-glue any loose leaves before you hang it again.
Frequently asked questions
Can I use real mini pumpkins on a grapevine wreath?
Craft pumpkins are the better choice. Real mini pumpkins are heavy enough to tilt the ring and strain the wire, and they soften with time, which can mark the door and the leaves around them. Foam, plastic, paper or small fabric pumpkins keep the wreath balanced and can be stored with it for another year.
How do I stop the pumpkins from falling off the wreath?
Rely on wire, not glue. Pass floral wire through the lower part of each pumpkin, push both ends through the grapevine on either side of a thick vine, and twist them tightly at the back. A small dot of glue under the pumpkin only stops it from turning. Shake the wreath gently to check before hanging.
How many leaves does a 14-inch grapevine wreath need?
Roughly 30 to 40 leaves cover about two thirds of a 14-inch ring when each leaf overlaps half of the one before it. Larger leaves need fewer, small felt leaves need more. Buy or cut a few extra so you can fill gaps around the pumpkins and replace the black accents after Halloween.