Decorative Apothecary Jars for a Halloween Shelf
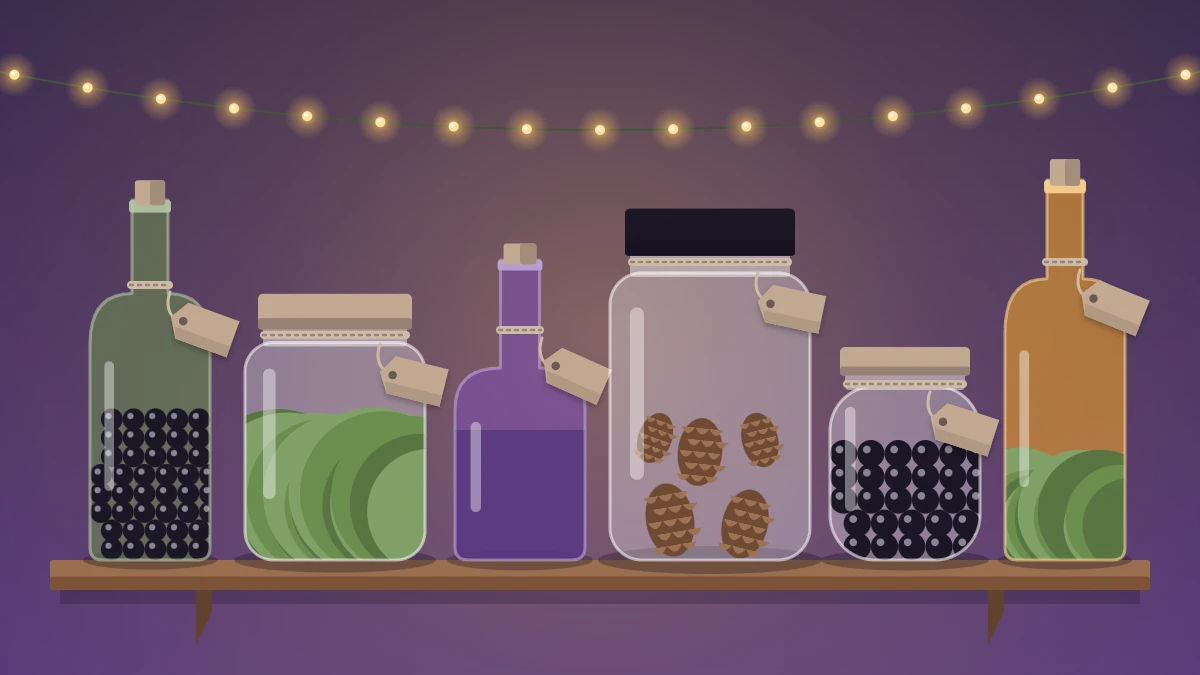
Turn mismatched glass jars and bottles into a curiosity-shop shelf display with moss, pinecones, blank kraft tags, twine and glue drips that look like wax. Decoration only.
Tutorial at a glance
Materials
- Clean glass jars and bottles, 5 to 7 in mixed shapes
- Dried moss, small pinecones, black beads or dried beans
- A few plastic spiders
- Kraft paper tags and a permanent marker
- Twine and dark fabric scraps
- Low-temp glue gun and acrylic paint
- A tray or wooden board
A row of Halloween apothecary jars is one of the quickest ways to give a shelf an old curiosity-shop mood. Mismatched glass, a few natural fillers, blank paper tags and a little twine do nearly all the work, and most of the materials can come from the recycling bin and the yard.
These jars are purely for looking at. Nothing inside them is meant for eating or drinking, and the whole point is the play of shapes, textures and shadows behind the glass.
Collect and Clean the Glass
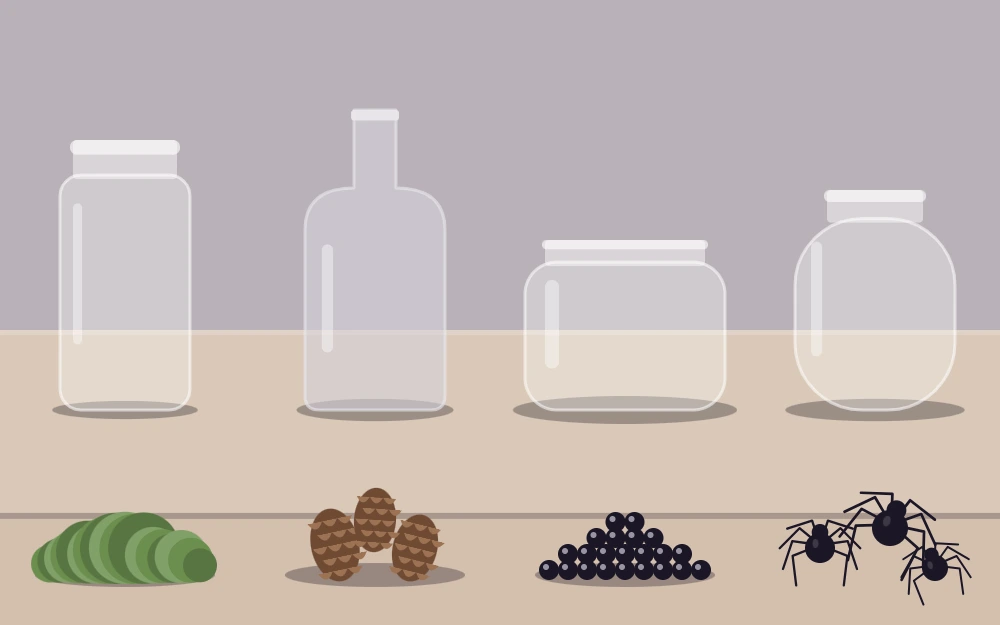
Variety matters more than quality. Aim for five to seven pieces in at least three shapes: a tall narrow bottle, a short wide jar, a square jar, something with a cork or a domed lid. Heights from about 3 to 10 inches (8 to 25 cm) give you enough range to build a group.
- Soak each jar in warm soapy water for about 20 minutes, then peel off the old labels.
- Rub away leftover adhesive with a little cooking oil on a cloth, and wash again.
- Dry every piece fully, inside and out. Any damp left inside will fog the glass and can spoil dry fillers.
- Check rims and bases for chips, and set aside anything cracked.
Choose Harmless Decorative Fillers
Pick fillers for texture and color, and keep to a narrow palette of black, brown, moss green and cream so the group looks collected rather than random.
| Filler | Look | Best jar |
|---|---|---|
| Dried moss | Soft, green, overgrown | Short and wide |
| Small pinecones | Rough, woodland | Medium, wide mouth |
| Dried black beans or black beads | Glossy and dark | Small or square |
| Plastic spiders | Playful, a little creepy | Any, used sparingly |
| Twisted strips of paper | Pale, curled, scroll-like | Tall and narrow |
| Colored water | Glowing, potion-like | Bottle with a tight lid |
Fill each jar between one half and three quarters full. A little empty space at the top lets the light through and keeps the contents from looking packed in.
For twisted paper, cut strips of cream or brown paper about 1 inch (2.5 cm) wide, wind each one tightly around a pencil, and slide it off. Five or six curls fill a tall bottle.
For colored water, add two or three drops of food coloring to plain water, fill the bottle to just below the neck, and close it with a lid or cork that fits tightly. A drop of glue around the cork helps it stay shut. Dark green and deep purple read best.
Safety note
These jars are decoration only. Do not use them for food or drinks, and tell guests the contents are not edible. Beads, beans and plastic spiders are small parts, so keep the display on a high shelf, away from young children and pets.
Add Blank Tags and Drawn Symbols
Old apothecary bottles carried labels, but yours do not need words to look the part. A blank kraft tag suggests a label without saying anything, and a simple drawn symbol adds mystery.
- Blank tags: cut rectangles of kraft paper about 2 by 3 inches (5 by 8 cm), clip the top corners, and punch a hole.
- Symbols: with a permanent marker, draw one small shape on some tags, such as a crescent moon, a star, a spider, a leaf or a spiral.
- Stuck-on labels: for a flat-sided jar, glue an oval of cream paper straight to the glass with a drawn border and a symbol in the middle.
Leave about half of the tags completely blank. The mix looks more natural than a symbol on every jar.
Finish with Twine, Fabric and Wax-Look Drips
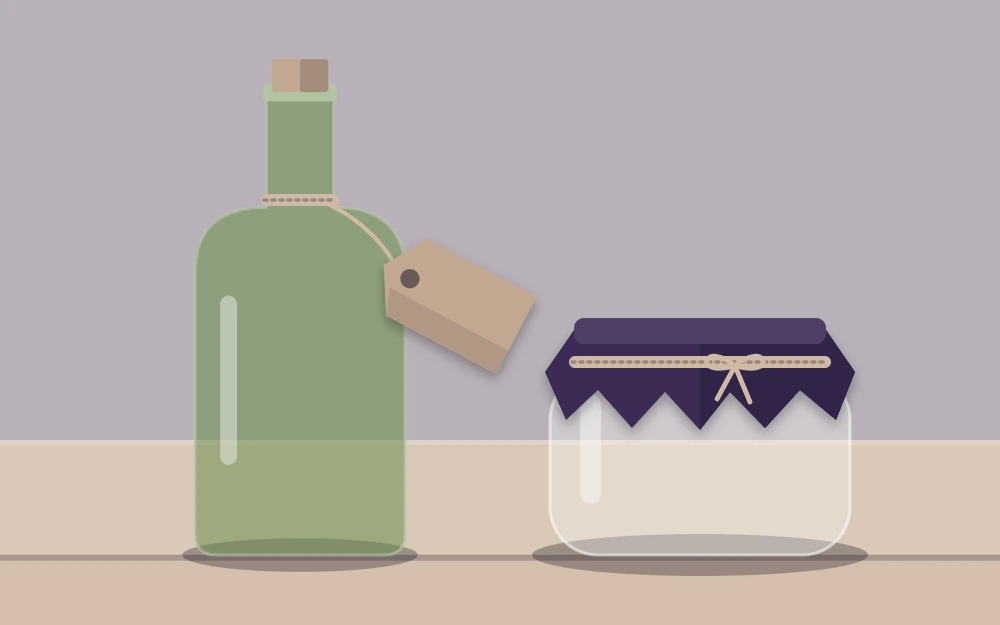
Wrap twine around each neck three or four times, thread on the tag, and knot it so the tag hangs at a slight angle. Leave the ends uneven.
For jars with plain metal lids, cut a square of dark fabric about 2 inches (5 cm) wider than the lid on every side, lay it over the top, and tie it down with twine below the rim.
Wax-look drips come from a low-temp glue gun, not from a real candle, so no flame is involved. An adult should handle this step.
- Hold the bottle upright and squeeze a ring of glue around the top of the neck or the edge of the cork.
- Squeeze a little extra at three or four points and let gravity pull each bead down the glass. Uneven lengths look most convincing.
- Let the glue cool for a few minutes until it is firm.
- Paint the drips with cream or black acrylic paint, and let them dry.
Group the Jars by Height on a Tray
A tray turns separate jars into one display and makes the whole group easy to lift when you dust. A dark wooden board, a metal tray or a slice of wood all work.
- Stand the tallest bottle at the back, slightly off-center.
- Step the heights down toward the front and the sides.
- Let two or three jars overlap when seen from the front, so the group has depth.
- Raise one short jar on a small stack of old books to break up the line.
- Scatter a pinch of moss or one or two plastic spiders on the tray itself.
Keep colored-water bottles upright and toward the back, where they are less likely to be knocked.
Where to Display Them and What to Add
A bookshelf at eye level is the natural home. The same tray also works as one layer of a larger arrangement, and the guide to Halloween mantel decor shows how to fit a group like this between taller and lower pieces.
For a soft glow, tuck a strand of battery fairy lights behind the jars, or set a battery tea light behind a colored-water bottle so the color lights up. Lit versions of the same glass are a separate project, covered in Halloween jar lanterns.
On a buffet, set the tray well apart from serving dishes so no one mistakes a jar of beads for a snack. The article on Halloween party table decor has more on arranging decoration around food.
Care and Storage
Check the jars now and then. Empty colored-water bottles when the season is over, and sooner if the water turns cloudy. Throw away dried beans after use; do not return them to the kitchen. Moss, pinecones, tags and the glass itself can be packed in a box with paper between the jars and used again next year.
Frequently asked questions
What can I put in Halloween apothecary jars?
Dry, harmless fillers with good texture work best: dried moss, small pinecones, black beads, dried black beans, twisted strips of paper and a few plastic spiders. A bottle with a tight lid can hold colored water. Everything is for display only, so keep the jars closed and well away from food, young children and pets.
Do the jars need labels with words on them?
No. Blank kraft tags tied on with twine already suggest an old label, and they leave the contents to the imagination. If you want more detail, draw one small symbol such as a moon, a star or a spider on some of the tags and leave the others plain. A mix of both looks most natural.
How do I make drips that look like wax without a flame?
Use a low-temp glue gun. Squeeze a ring of glue around the neck of the bottle, add extra at a few points and let it run down the glass. Once it has cooled and hardened, paint the drips with cream or black acrylic paint. An adult should do the gluing, since the tip and the glue are hot.