Halloween Party Table Decor: Runner, Centerpiece and Place Settings
Style a Halloween party table in layers: a runner, a low centerpiece guests can see over, small repeated elements, simple place markers and flameless lighting.
Good halloween party table decor does two jobs at once: it sets the mood the moment guests walk in, and it stays out of the way once the plates are full. The tables that manage both are usually the simplest ones, built from a runner, one low centerpiece and a small idea repeated down the length.
Think of the table in layers, from the surface up. Each layer below takes a few minutes to arrange, and most of it can be made from paper, fabric and a handful of small pumpkins.
Start with a short plan
Pick two main colors and one accent before you buy or make anything. Black and orange with a little white is the familiar choice. Black, cream and a muted green feels calmer, and black with purple and silver leans toward a night-sky look. A basic color wheel is useful if you want to test a less usual pairing.
Then measure the table. The decorations should take up roughly the middle third of the width, leaving the outer thirds free for plates, glasses and elbows.
Lay the runner
The runner is the stage for everything else, and it protects the table from scuffs. Three materials cover most styles.
| Runner | Look | Good to know |
|---|---|---|
| Kraft paper | Casual, craft-table feel | Guests can draw on it; replace it afterward |
| Black fabric | Dramatic and clean | Makes orange and white pop; press out folds first |
| Gauze or cheesecloth | Soft and cobwebby | Layer it over a solid cloth and pull a few threads loose |
Aim for a width of about 12 to 16 inches (30 to 40 cm), and let the runner hang over each end of the table by roughly 6 inches (15 cm). Gauze looks best when it is not straight: bunch it gently and let it wander a little from side to side. If young children will be at the table, keep the overhang short so nothing can be pulled down.
Build a low centerpiece
The single most useful rule for a seated table is height. Keep the centerpiece below about 12 inches (30 cm) so people can see each other across it.
A long, low arrangement suits a rectangular table better than one tall object. Some combinations that work:
- A shallow tray with three pumpkins in different sizes and a scatter of dried leaves
- A row of small jars in the center, each holding a battery tea light
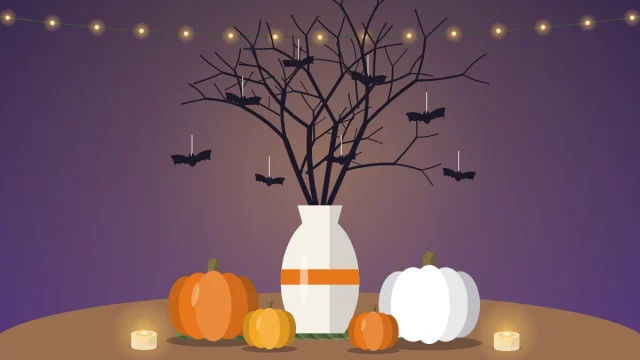
- A short bundle of bare twigs laid on its side with paper bats tucked among them
- A cake stand with one painted pumpkin, used at the end of a buffet where height is welcome
For full arrangements with sizes and steps, see these Halloween centerpiece ideas.
Repeat small elements down the table
Repetition is what makes a table look planned. Choose two or three small items and repeat them at regular intervals from the centerpiece toward both ends, instead of placing many different things once each.
- Mini pumpkins, real or handmade, about every 12 inches (30 cm)
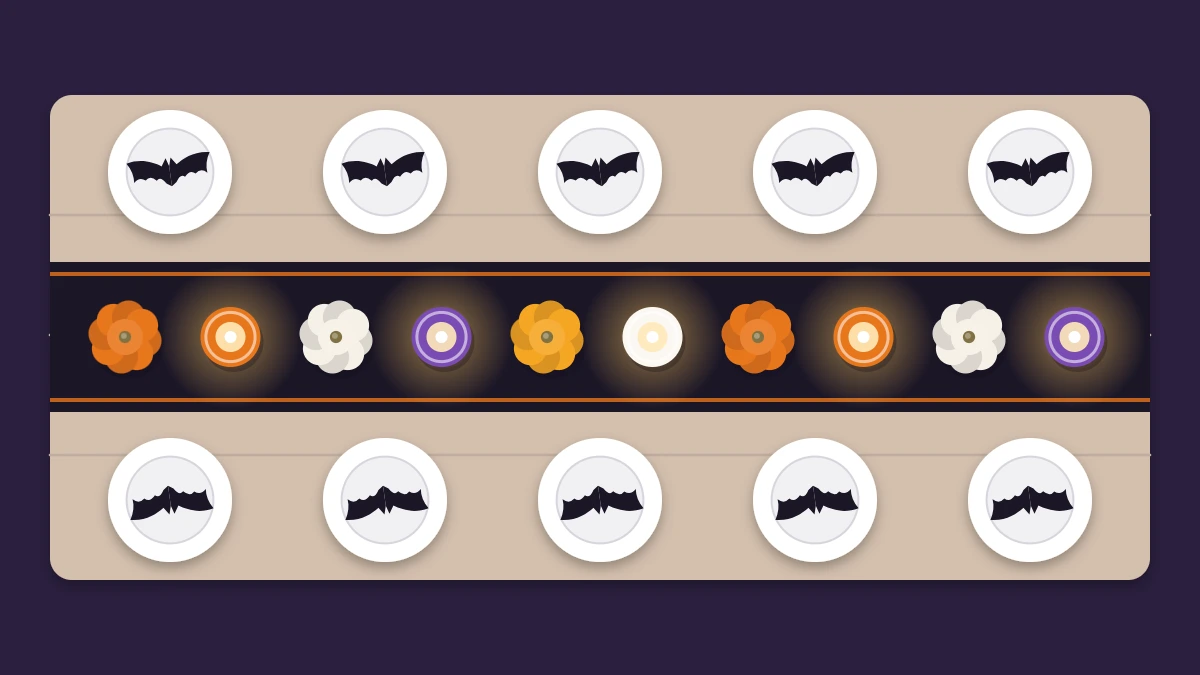
- Small jar lanterns between the pumpkins
- Paper bats or leaves lying flat on the runner
- Short lengths of black ribbon tied around napkins or glass stems
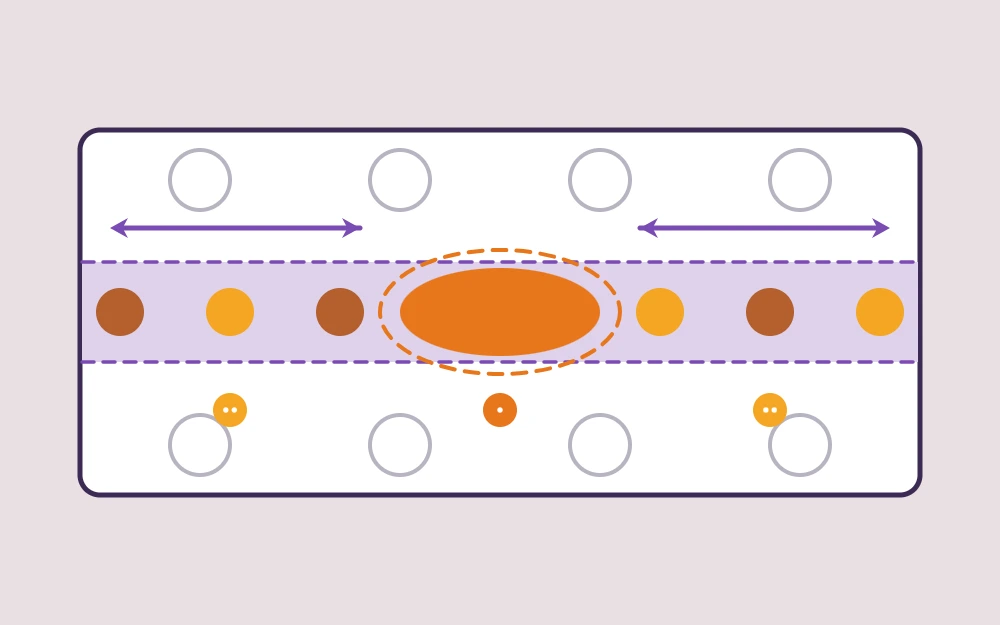
A steady rhythm is easy on the eye: pumpkin, lantern, pumpkin, lantern.
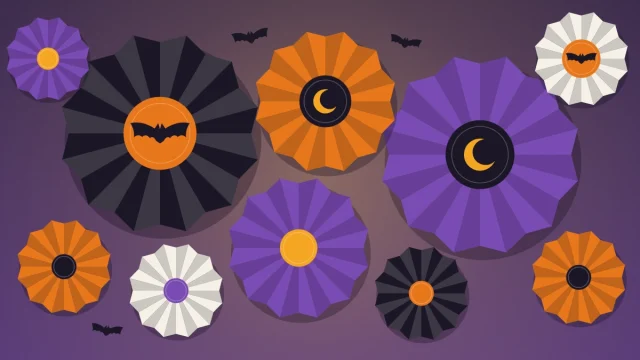
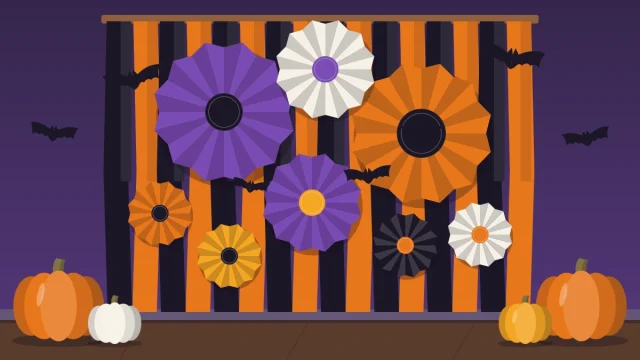
If the table stands against a wall, a few Halloween paper fans hung behind it add height without using any of the table surface.
Set simple place markers
A small detail at each seat makes guests feel expected. Since the decorations on this site use shapes instead of lettering, think of these as markers, not name cards.
- Paper bat on the napkin: cut a bat about 4 inches (10 cm) wide from black cardstock and rest it on a folded napkin in the center of the plate.
- Mini pumpkin beside the glass: one per seat, plain or painted. Tie a different ribbon color to each stem so guests can tell their places apart.
- Napkin band: a strip of orange paper wrapped around the napkin and closed with a small paper leaf.
- Symbol markers: give each guest a shape, such as a moon, a cat, a star or a leaf, and repeat it on the napkin band and the glass.

Keep markers flat or low and to the side of the plate, so they are easy to move when the food arrives.
Add flameless lighting
Low, warm light is what turns a decorated table into an atmospheric one. Dim the overhead lights and bring the glow down to table level.
Battery tea lights are the easiest tool: they sit inside jars, behind pumpkins and under a layer of gauze without any risk to the paper and fabric around them. Battery string lights with a small pack can run along the runner, with the pack hidden under a fold of cloth, so the table needs no extension cord. The tutorial for Halloween jar lanterns shows how to decorate the jars themselves.
Safety note
Do not use real candles on a table dressed with paper, gauze or dried leaves. Battery or LED candles give the same flicker and stay cool next to decorations and sleeves.
Keep decorations apart from the food
Everything described here is decoration only. Painted pumpkins, glittered leaves, decorated jars and loose paper shapes should not touch food or sit where they could fall into it.
- Leave a clear zone around every serving dish, and keep scatter items such as leaves and paper bats at least a hand’s width away.
- Skip loose glitter and confetti on a dining table; they travel onto plates.
- Keep small pieces out of reach of young children and pets, and count battery lights back in at the end of the night.
- Place lanterns and pumpkins where sleeves will not catch them when guests reach across.
Tip
Set the table the day before without the food, sit in two or three of the chairs and look across. It is the quickest way to spot a centerpiece that is too tall or a place setting that is too crowded.
The order to set it all up
- Runner first, smoothed or bunched as the material needs.
- Centerpiece in the middle, checked from a seated position.
- Repeated small elements, working outward toward both ends.
- Plates, napkins and place markers.
- Lights last, switched on shortly before guests arrive.
Frequently asked questions
How tall should a Halloween centerpiece be on a dinner table?
For a table where people sit and talk, keep it under about 12 inches so nobody has to lean around it. Long, low arrangements suit rectangular tables. Taller pieces are fine on a buffet or a side table, where guests stand and height helps the display read from across the room.
What can I use as a Halloween table runner if I do not have one?
A length of kraft paper from a roll, a strip of black fabric with the edges folded under, or a piece of gauze layered over a plain tablecloth all work. Even a row of overlapping black paper sheets taped together on the underside will do for one evening.
How do I decorate a small table without crowding it?
Use a narrow runner, swap the centerpiece for a single line of three small pumpkins and two jar lanterns, and put the detail at each seat instead, such as a paper bat on the napkin. Move bigger pieces to a wall, shelf or sideboard nearby so the surface stays free for plates.