DIY Halloween Party Backdrop for Photos
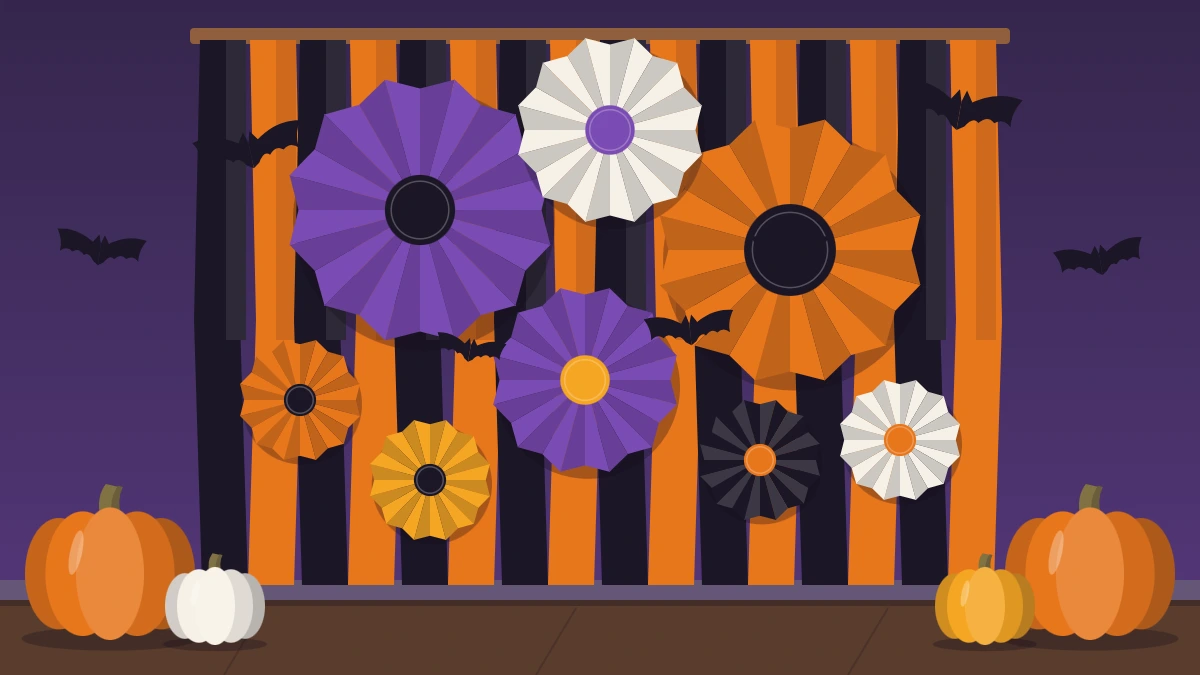
Build a photo wall in three layers: a dark base sheet, vertical streamers or fringe, then paper fans, bats and a yarn web, with pumpkins at the floor and battery lights.
Tutorial at a glance
Materials
- Black plastic tablecloth, dark fabric or kraft paper
- Painter's tape and removable adhesive hooks
- Crepe paper streamers in 2 or 3 colors
- Paper fans in three sizes
- Black paper bats and yarn
- Pumpkins for the floor
- Battery micro light strings
A Halloween party backdrop gives guests one obvious place to stand for pictures, and it keeps the rest of the room out of the frame. You do not need a stand or a frame to build one. A clear stretch of wall, a dark base sheet and a few layers of paper decorations are enough.
The method below works in three layers, from flat to raised. Each layer hides the fixings of the one behind it, so the finished wall looks full even though most of it is tape and paper.
Choose the wall
Look for a wall about 5 to 6 feet (1.5 to 1.8 m) wide. That is roomy enough for two or three people standing together, and small enough to cover in an afternoon.
- Pick a spot away from the food table and the main doorway so a line of guests does not block either.
- Leave about 6 feet (1.8 m) of open floor in front for the person holding the camera.
- Avoid a wall directly opposite a bright window, which throws glare onto shiny materials.
- Take down framed pictures and move furniture aside before you start.
Hang the top edge only as high as you can comfortably reach from the floor. Pictures are usually framed from the waist up, so the area between hip and just above head height matters most.
Materials
- Base: a black plastic tablecloth, a length of dark fabric or a roll of kraft paper
- Painter’s tape and removable adhesive hooks
- Crepe paper streamers in two or three colors, or fringe cut from plastic tablecloths
- Paper fans in three sizes, paper bats and yarn for a web
- Removable adhesive putty and clear tape
- Pumpkins for the floor and battery lights
Layer one: the base
The base gives every other piece a plain, dark ground to stand out against.
- Run a strip of painter’s tape along the wall at the height of the top edge. Later layers stick to this tape rather than to the paint.
- Fix the base sheet along that line. A plastic tablecloth is light enough for tape alone. Fabric is heavier, so hang it from three or four removable adhesive hooks with small clips or loops.
- Smooth the sheet downward and tape the lower corners so it does not billow when people walk past.
- Let any extra length rest on the floor, tucked against the baseboard, not spread out where feet will land.
Each base has a character. Plastic is quick and reflects a little light. Fabric looks richest on camera and can be reused. Kraft paper is matte and can be painted with simple shapes such as moons and stars.
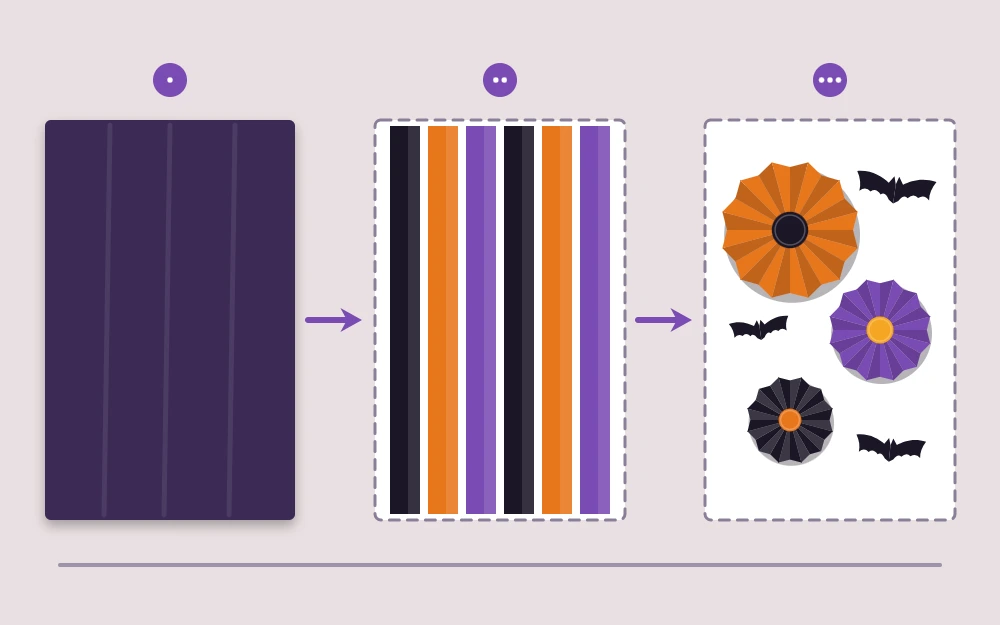
Layer two: streamers or fringe
Vertical strips add color and gentle movement. Cut streamers a little longer than the base, since extra length can be trimmed once everything is up.
- Lay a fresh strip of painter’s tape on a table, sticky side up, as long as the backdrop is wide.
- Press the top end of each streamer onto the tape, alternating colors and overlapping the edges slightly.
- Lift the loaded tape and press it onto the wall along the top line.
- Trim the lower ends level, or cut them at different lengths for a ragged finish.
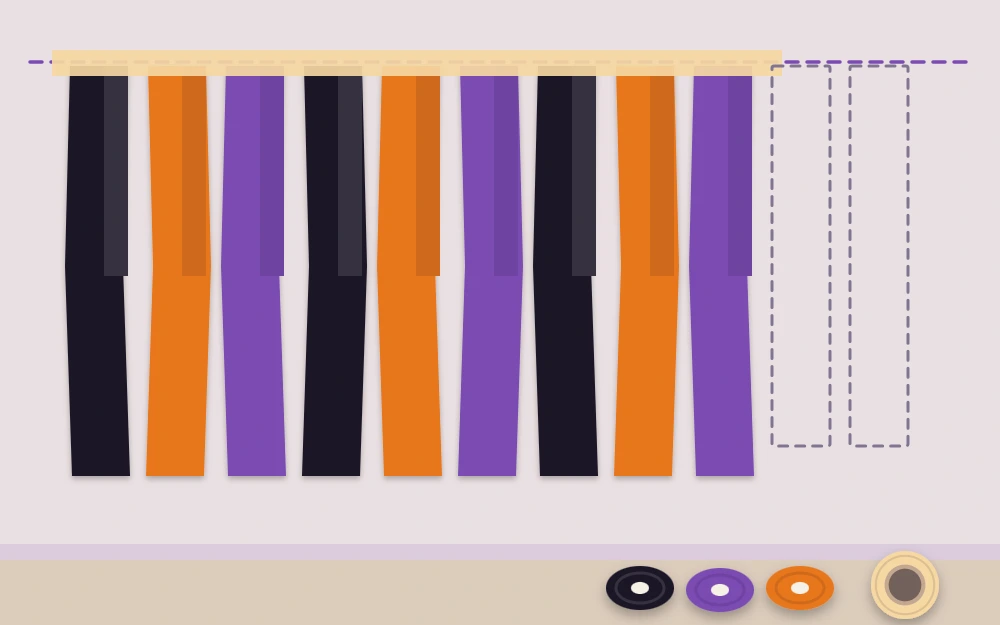
For fringe, fold a plastic tablecloth in half lengthwise and cut strips about 1 inch (2.5 cm) wide up to a few inches below the fold. Hang it by the uncut band. Giving each streamer one or two twists before taping the lower end adds a spiral that catches the light.
Tip
Black, orange and one accent such as purple is plenty. A fourth color tends to look busy on camera.
Layer three: fans, bats and a web
The top layer adds shape and depth. Work in odd numbers and keep the heaviest grouping off center.
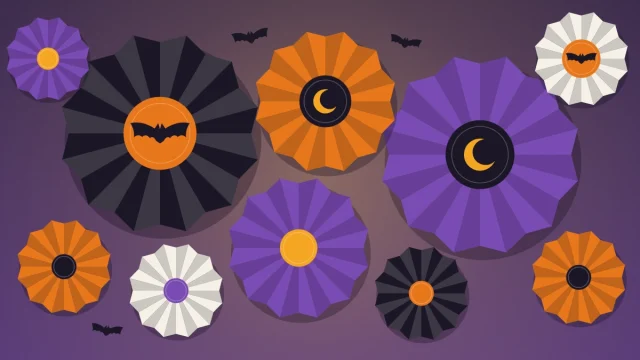
- Fans: arrange five to seven in three sizes, clustered in an upper corner and trailing diagonally downward. Overlap a few edges. The guide to Halloween paper fans shows how to fold and join them.
- Bats: scatter black paper bats flying out from the fan cluster, wings folded forward so they cast small shadows.
- Web: stretch a yarn spider web across the opposite upper corner to balance the fans.
Fix light paper pieces with removable adhesive putty or loops of tape pressed onto the base sheet. Keep the center at head height fairly plain. Faces go there, and a large fan directly behind someone’s head is distracting.
If the wall still feels bare along the top, a pennant line is a quick fix. The DIY Halloween banner can be hung in a shallow curve above the streamers.
Floor-level pumpkins
Pumpkins anchor the lower edge and hide the place where the base meets the floor. Group three at one side and two at the other, in mixed sizes, tight against the wall. Faux or handmade pumpkins are lighter and easier to nudge back into place during the party.
Leave the middle of the floor completely clear. Guests step backward without looking when they pose, so anything in the standing area is a trip hazard.
Lighting from the front
Light should fall on faces, not shine from behind them. A room lamp placed beside the camera position, slightly above eye level, is often enough. If the backdrop wall is dim, turn on the overhead light as well.
For decoration, use battery lights only. Battery micro light strings can be draped over the fans or woven through the web, and battery tea lights in jars can sit among the pumpkins. Battery power means nothing trails across the floor where people stand, and it keeps heat away from paper and plastic.
Safety note
Paper, streamers and plastic sheeting belong with flameless lights only. Keep the backdrop clear of heaters and hot lamps, and keep the floor in front of it free of anything guests could step on.
Test it before guests arrive
Ask someone to stand in place and take a few test shots on a phone, both upright and sideways. Check for bare wall at the edges, tape that shows, and glare from plastic. Small gaps are easy to cover with one more bat.
After the party, peel the tape back slowly along the wall. Fans, bats and the banner usually store flat for another year, though how well paper pieces hold up varies.
Frequently asked questions
How wide should a party photo backdrop be?
About 5 to 6 feet suits two or three people standing shoulder to shoulder. For larger group shots, extend the base to around 8 feet and add a second cluster of fans so the extra width does not look empty. A single-person selfie spot can be as narrow as 4 feet.
Will painter's tape hold a backdrop for a whole party?
It usually holds plastic sheeting, crepe streamers and paper pieces for an evening on clean, dry paint, but grip varies with the wall finish and room temperature. Heavier fabric needs removable adhesive hooks. Put the base up a few hours early so you can spot and fix any sagging before guests arrive.
Can I set up the backdrop outdoors?
A covered porch or patio wall can work in calm, dry weather, but wind lifts streamers and plastic quickly and damp air softens paper. Use fabric as the base, tape lower ends down, choose battery lights, and plan to bring everything inside if the weather turns.