Halloween Centerpiece Ideas with Branches, Pumpkins and Paper Bats
Build a branch centerpiece hung with paper bats over pumpkins, moss and battery fairy lights, then try two variations: a low tray for dinner tables and a cake-stand pumpkin stack.
Tutorial at a glance
Materials
- Heavy vase or wide-mouthed jar
- Pebbles, gravel or dry sand
- Bare branches, 5 to 7
- Black cardstock and black thread
- Small pumpkins, 3 to 5
- Dried moss
- Battery fairy lights, 1 strand
Most Halloween centerpiece ideas start from the same three ingredients: something tall, something round and something that glows. Bare branches, a few pumpkins and a strand of tiny lights cover all three, and the result looks far more involved than it is.
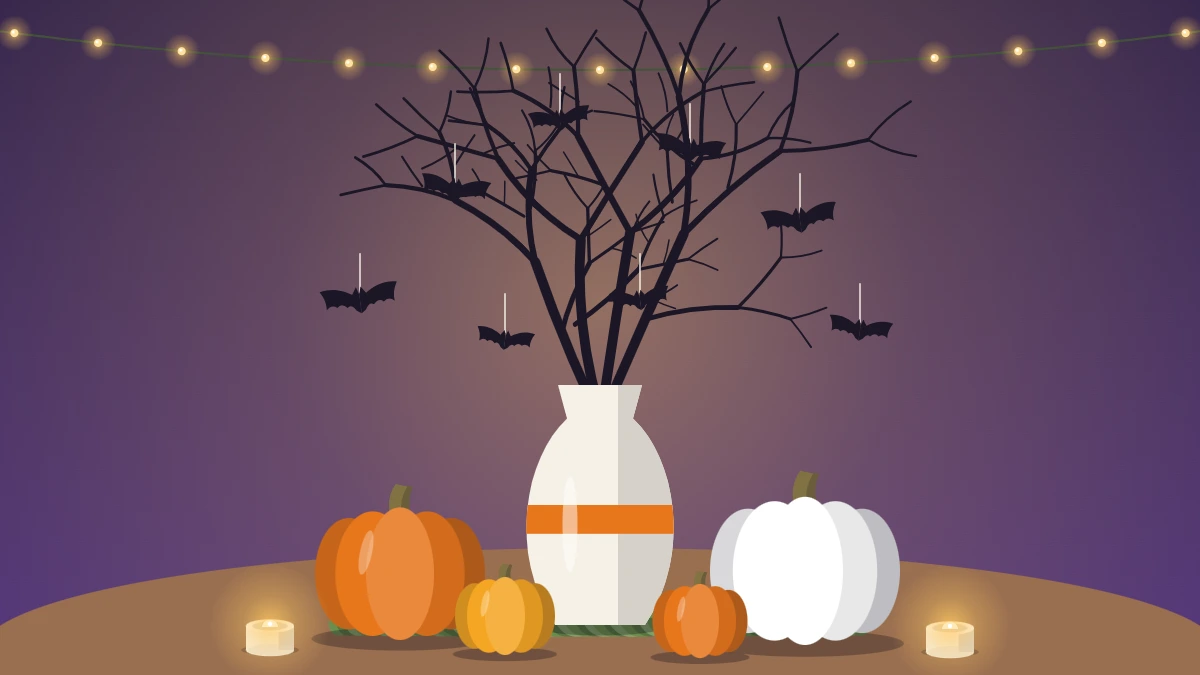
The main project here is a branch centerpiece hung with paper bats. Two variations follow, a low tray for dinner tables and a pumpkin stack on a cake stand, so you can pick the shape that suits your table and your evening.
Gather Your Materials
- A heavy vase, jug or wide-mouthed jar, about 8 to 10 inches (20 to 25 cm) tall
- Pebbles, gravel or dry sand to weight it
- Five to seven bare branches, about 20 to 30 inches (50 to 75 cm) long
- Black cardstock, black thread and scissors
- Three to five small pumpkins, real or craft
- A handful of dried moss
- One strand of battery fairy lights
Fallen branches from the yard are ideal. Look for ones with plenty of small side twigs, shake off loose bark and dirt, and let them dry indoors for a day or two if they are damp.
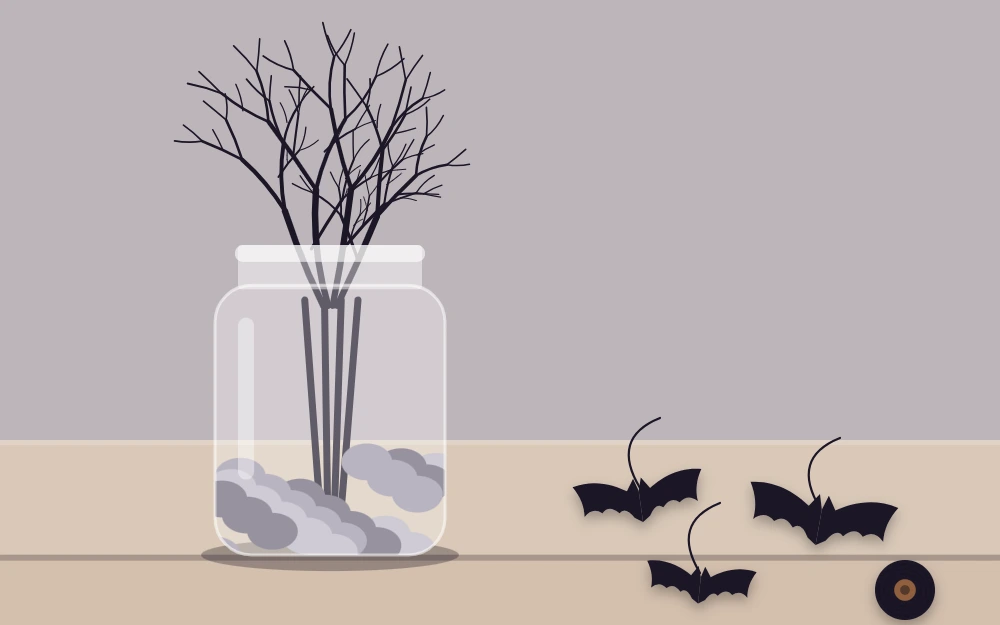
Weight the Vase and Arrange the Branches
Stability comes first. Tall branches in an empty jar tip at the first bump of the table, so the base has to be heavy.
- Fill the vase about half full with pebbles, gravel or sand.
- Push the tallest branch into the middle until it touches the bottom.
- Add the other branches one at a time, turning each so its side twigs spread outward and the outline widens toward the top.
- Trim any branch that leans far past the edge of the vase. The whole spread should stay within about twice the width of the base.
- Top up with more pebbles to wedge the stems in place.
- Nudge the table. If the vase rocks, add weight or shorten the branches.
Paint the Branches Black (Optional)
Natural brown and gray branches look good as they are. Black ones make a sharper outline against a pale wall.
Acrylic craft paint and a brush work well and can be used at the table over newspaper. Spray paint is faster, but use it only outdoors or in a well-ventilated space, with the branches laid on cardboard, and let them dry fully before bringing them in. Either way, paint before you arrange.
Cut and Hang the Paper Bats
Seven to nine bats suit a centerpiece of this size. Mix two sizes, about 2 inches (5 cm) and 3 inches (8 cm) from wingtip to wingtip.
- Fold a piece of black cardstock in half and draw half a bat against the fold: half a body, one ear and one scalloped wing.
- Cut through both layers and open the bat out. Use the first as a template for the others.
- Crease each bat lightly down the middle so the wings lift.
- Tape or glue a thread about 4 to 8 inches (10 to 20 cm) long to the back of each one, and vary the lengths.
- Tie the bats to the outer twigs at different heights, with the small ones near the top.
- Fix two or three directly to the branches, without thread, as if they had just landed.
Small paper ghosts work the same way: cut a rounded shape with a wavy lower edge from white paper and draw two oval eyes.
Tip
Black thread disappears against a dark room and lets the bats seem to hover. On a bright table, white or clear thread hides better.
Build the Base with Pumpkins, Moss and Lights
The base hides the vase and links it to the table. Set the largest pumpkin against the vase, slightly to one side, and place the others around it in a loose curve so they do not form a ring. Press moss into the gaps and let a little trail outward.
Handmade pumpkins weigh little and can be painted to match the room; the paper mache pumpkins project makes a set you can reuse. If any of your pumpkins are real, put a saucer or coaster under each one and check the bases every few days.
Wind the battery fairy lights up through the branches from the bottom, then tuck the battery pack behind the largest pumpkin where you can still reach the switch. Dry branches, paper and moss should only be lit with flameless lights, so use battery strands or battery tea lights and never real candles.
Keep It Stable and Out of the Sight Line
A centerpiece that blocks faces gets moved halfway through dinner. The simple rule is to keep the bulk of it either below or above eye level for seated guests.
- Below: anything solid stays under about 12 inches (30 cm), roughly the height of a forearm standing on the table.
- Above: thin, open branches can rise well past that, as long as the dense part of the arrangement starts higher than the guests’ eyes.
Sit in a chair and look across before the guests arrive. Keep hanging bats clear of plates and glasses, and move the centerpiece to a sideboard if small children will be reaching across the table.
Two Variations on the Same Idea
A Low Tray for Dinner Tables
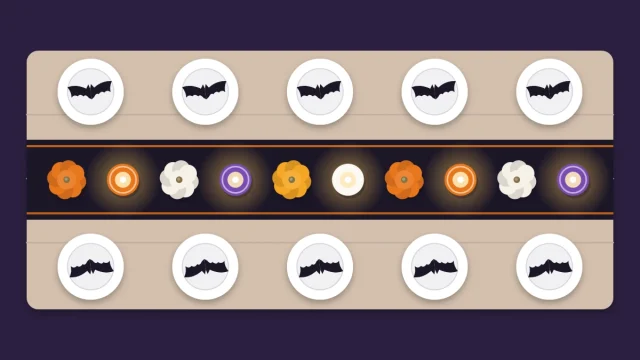
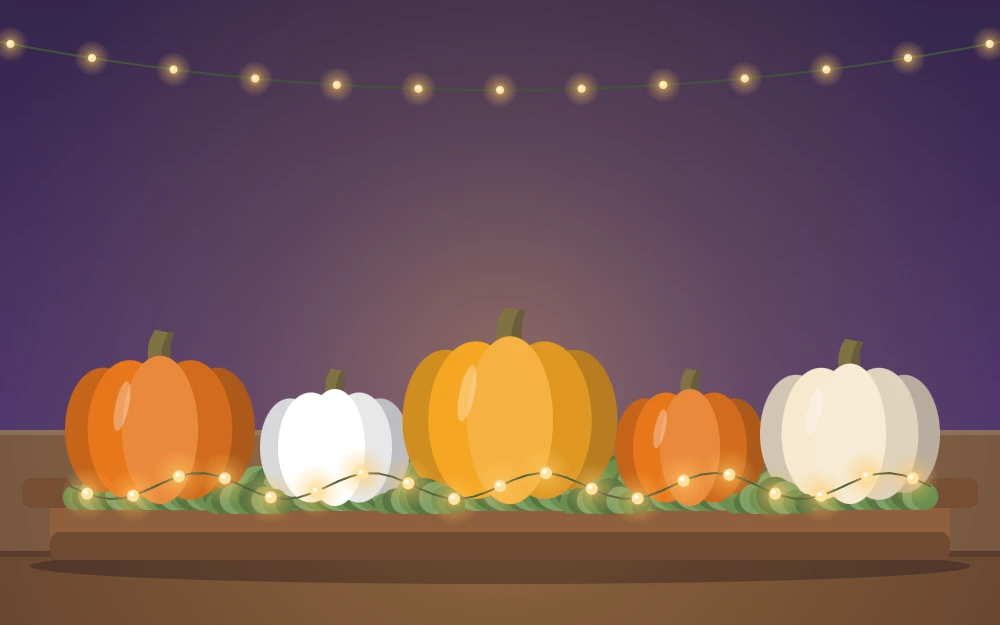
For a meal where conversation matters most, go long and low. Take a narrow tray or wooden board, cover it with moss, and line up five to seven small pumpkins down the middle, alternating sizes and colors. Thread battery fairy lights between them and lay a few paper bats flat on the moss.
The finished piece sits under about 6 inches (15 cm) tall and lifts away in one move when the serving dishes arrive.
A Cake-Stand Pumpkin Stack
A cake stand gives height without branches. Ring the plate with moss, set one wide, flat pumpkin in the middle, and stack a medium and a small one on top, removing the stems of the lower two if they are craft pumpkins so each sits level. A dot of removable adhesive putty between craft pumpkins helps the stack hold. Finish with one paper bat on a short wire pushed into the moss.
Fitting It into the Rest of the Table
Repeat one element of the centerpiece elsewhere, such as a bat at each place or moss around the serving area, and the table looks planned. The guide to Halloween party table decor covers runners and place settings. For a sideboard nearby, a tray of decorative apothecary jars echoes the branches and moss in the same dark, natural palette.
Frequently asked questions
How tall should a Halloween centerpiece be?
Keep the solid part either below or above the eye level of seated guests. Dense arrangements work best under roughly 12 inches, while thin, open branches can rise much higher because people can see through them. Sit at the table and look across to the opposite chair before the party to confirm nobody's view is blocked.
How do I stop a branch centerpiece from tipping over?
Weight the container. Fill a heavy vase or jar about halfway with pebbles, gravel or dry sand, push the branches to the bottom and wedge them with more filler. Trim branches that lean far beyond the base, then nudge the table as a test. If the vase rocks, add weight or shorten the branches.
What lights are suitable for a branch and paper centerpiece?
Use flameless lighting only. A strand of battery fairy lights wound through the branches gives an even glow, and battery tea lights can sit among the pumpkins. Dry twigs, paper bats and moss should never be placed near a real flame. Hide the battery pack behind a pumpkin where the switch stays easy to reach.