Easy Halloween Decorations for Beginners: Where to Start
Not sure which Halloween project to make first? Pick by time, mess and skill, then follow a simple three-piece plan to decorate one room without getting overwhelmed.
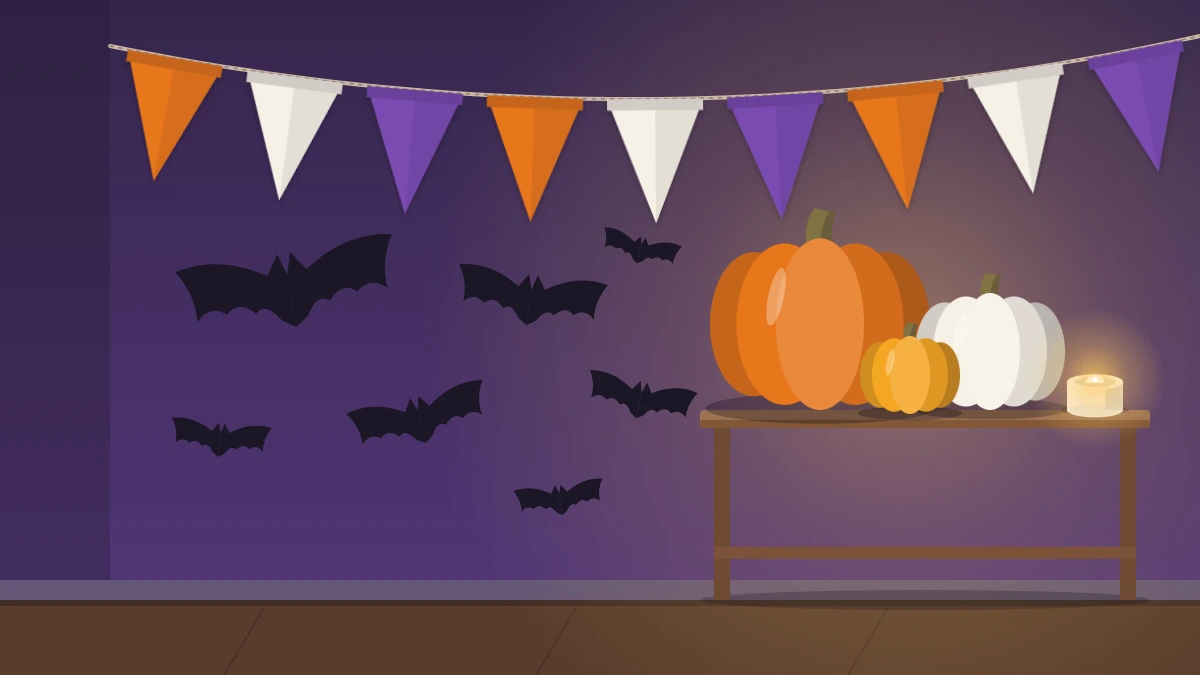
The best easy Halloween decorations are the ones you actually finish. A single wall of paper bats that goes up on a quiet evening does more for a room than an ambitious project that stalls halfway through with glue drying on the table.
If you have never made your own decor before, the hardest part is choosing where to begin. This guide gives you a simple way to pick a first project, a three-piece plan for decorating one room, and a side-by-side look at five starter makes so you can match one to the time and patience you have.
Three Questions to Ask Before You Pick a Project
Most beginner frustration comes from a mismatch: a project that needs two hours of drying when you only have one evening, or a painting job started on the only table in the house. Ask yourself three things first.
How much time do you really have?
Split time into hands-on time and waiting time. Cutting paper shapes is all hands-on and finished when you stop. Anything with paint, stiffener or decoupage glue has waiting time on top, often several hours or overnight. If you want decor up tonight, choose a dry project.
How much mess can you live with?
Paper and felt leave scraps that sweep up in a minute. Paint and glue need a covered surface, a place to leave things undisturbed and a sink nearby. Neither is better, but it helps to know which kind of evening you are signing up for.
What can your hands already do?
If you can cut along a pencil line and tie a knot, you have enough skill for everything in this guide. Projects that add a craft knife or a low-temp glue gun are still simple, but both are adult tools, so save them for your second or third make.
Five Starter Projects Compared
These five cover the main materials used across DIY Halloween Decorations. Times are rough and depend on how many pieces you make.
| Project | Hands-on time | Mess | Good first step if |
|---|---|---|---|
| Paper bats | About 30 to 45 minutes | Very low | You want a result tonight |
| Painted pumpkin | About 30 minutes, plus drying | Medium | You like color and pattern |
| Cheesecloth ghost | About 20 minutes, plus overnight drying | Medium to high | You can leave it alone to set |
| Jar lantern | About 30 minutes, plus drying | Medium | You want a soft glow |
| Felt garland | About 45 to 60 minutes | Very low | You want something reusable |
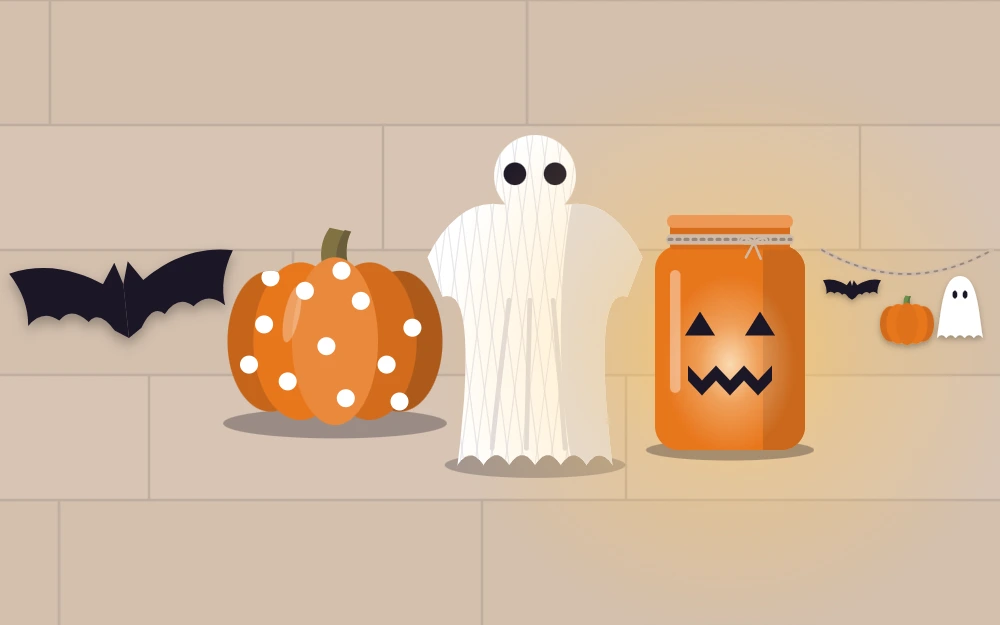
Notice that the two lowest-mess projects are also the two with no waiting. That is why paper and felt are the usual starting point: you learn to cut a clean shape, and that one skill carries into almost everything else.
A Simple Plan for One Room
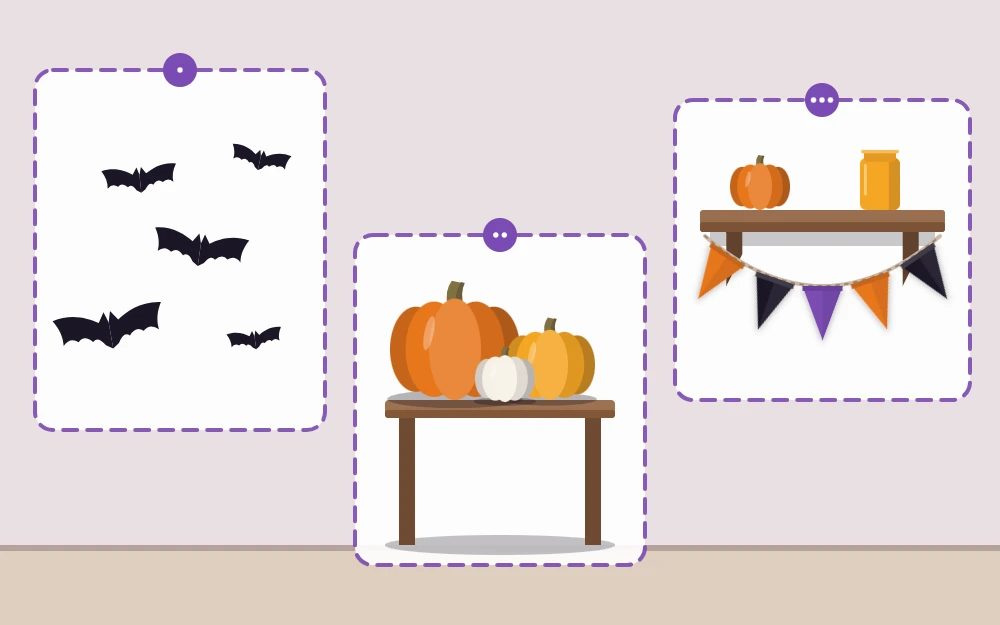
Decorating a whole home at once is how beginners burn out. Pick one room, usually the one where people gather, and give it three pieces at three different heights:
- One wall piece. Something flat that fills empty space at eye level and above.
- One tabletop piece. A small group of objects on a side table, shelf or mantel.
- One hanging piece. A garland or string that draws a line across the room.
Three pieces at three heights make a room feel decorated on purpose, because the eye finds something Halloween wherever it lands. More pieces at the same height just look crowded.
The wall piece
A swarm of black paper bats is the classic choice, and for good reason: it needs only cardstock, scissors and removable putty, and it covers a surprising amount of wall. The step-by-step for a rising colony of paper bats shows how to size and arrange them so they look like they are in flight rather than stuck on in rows.
The tabletop piece
Group three small pumpkins of different heights and you already have a centerpiece. Leave them plain, or decorate them with paint, tape or paper cutouts. The overview of no-carve pumpkin decorating methods sorts the options by effort, including several that peel off cleanly afterward.
The hanging piece
A short garland of felt or paper shapes on twine finishes the room. Hang it across a shelf edge, a mirror or a doorway at a height you can reach from the floor, and keep it clear of anywhere people walk through.
Keep Your Color Palette Small
Three colors are plenty: black, orange and one light neutral such as white or cream. Repeating the same three across all your pieces is what ties handmade decor together, even when the shapes are simple and a little uneven.
What to Gather First
You do not need a full craft cupboard. A pack of black cardstock, sharp scissors, a pencil and something removable to stick things to the wall will take you through your first evening. Add supplies only when a project calls for them.
The short starter list of craft supplies lays out what to buy first, what can wait and what you probably already have in a drawer.
Tip
Make one more piece than you think you need. A spare bat or garland shape lets you replace one that tears or fill a gap you only notice once everything is up.
Common Beginner Mistakes
- Starting too large. A small finished piece beats a big unfinished one. Scale up next time.
- Rushing drying time. Paint and glue that feel dry on top can still be soft underneath. Give them longer than seems necessary.
- Using strong tape on walls. Removable putty or removable adhesive hooks are kinder to paint. Test in a hidden spot first, since wall finishes vary.
Safety note
Any glow in your decor should come from battery or LED lights, never an open flame, especially near paper, fabric and cheesecloth. Keep small parts and cut scraps away from young children and pets.
Where to Go After Your First Project
Once your first room is done, build on the skill you just practiced. If you enjoyed cutting paper, try window shapes or a longer garland. If painting pumpkins was the fun part, try more detailed patterns. If you liked the quiet rhythm of felt, a wreath is a natural next step.
Add one new material or one new tool at a time. That way each project feels like a small stretch rather than a leap, and by the end of the season you will have a box of decor you made yourself and can bring out again next year.
Frequently asked questions
What is the easiest Halloween decoration to make first?
Paper bats are a common first choice because they need only black cardstock, scissors and something removable to attach them. There is no drying time and very little mess, so you can cut a small group and have them on the wall in a single evening. Felt garlands are a close second.
How many decorations does one room need?
Three pieces at different heights are usually enough for a first room: one on the wall, one on a table or shelf and one hanging. Spreading them across heights makes the space feel considered without crowding it. You can always add more later once you see how the room looks.
Do I need special tools to start making Halloween decor?
No. Sharp scissors, a pencil, cardstock and removable putty cover a first project. Tools such as a craft knife or low-temp glue gun are useful later, but they are adult tools and not required for beginner makes like paper bats, simple garlands or tape-decorated pumpkins.